A broken, crumbling lawn edge makes the whole garden look unkempt, but you almost never need to buy turf to fix it. The professional trick is to use the grass you already have: cut out the damaged strip, lift it, turn it around so the good grass faces the broken edge, and let the bare patch heal where it no longer shows. It costs nothing but an afternoon and a little seed, the repair roots in within a few weeks, and the finished edge is as solid as the rest of the lawn. Here is exactly how to do it, plus how to stop the edges breaking again.
Why Lawn Edges Crumble and Sink in the First Place
Edges fail for understandable reasons, and knowing them helps you repair in a way that lasts. The grass at the boundary of a lawn has soil on one side and open air on the other, so it has nothing to hold it together when pressure or dryness arrives. Every time a mower wheel rolls along the rim, the unsupported edge takes the load and slowly breaks away. Foot traffic stepping on and off the lawn does the same. Over a season these small collapses turn a clean line into a ragged, crumbling fringe.
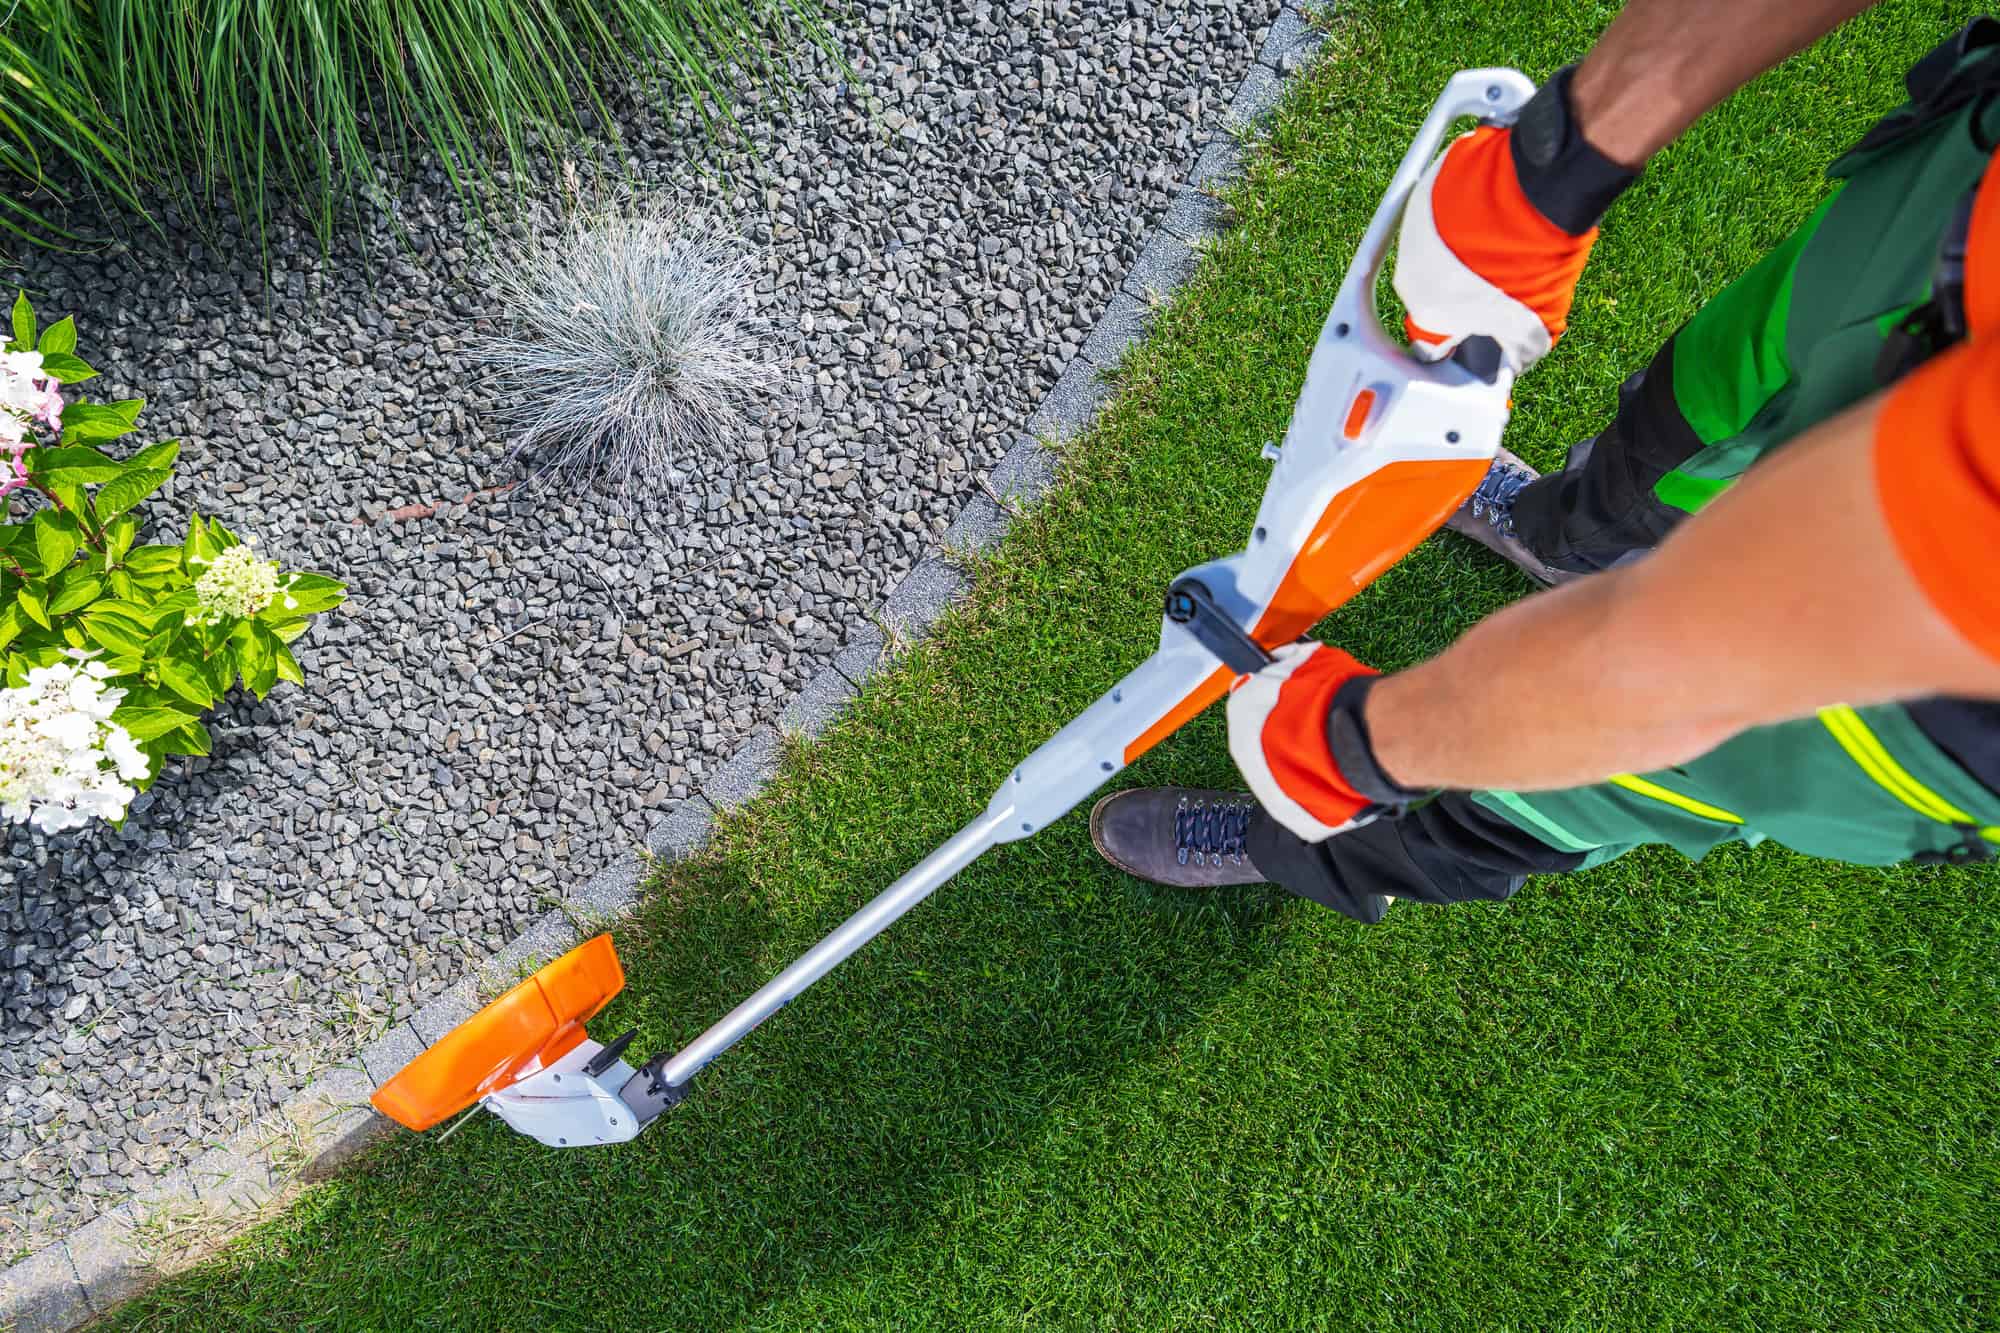
Dryness makes it worse. The soil at an exposed edge loses moisture from two faces instead of one, and reflected heat from a path, patio or driveway bakes it further, so edge grass is usually the first to go brown and thin in summer. Thin, dry turf has shallow roots and little binding strength, which is why edges so often crumble most in a hot spell. Strimmer damage is another common culprit: scalping the rim with a line trimmer repeatedly weakens the crowns until the grass dies back and the soil simply falls away. Finally, many edges sink rather than break, dropping below the lawn because the loose soil at the boundary settles and erodes over time. Each of these causes points to the same fix: rebuild the edge with well-rooted turf and then protect it.
The Turf Rotation Repair, Step by Step
This is the method recommended by professional gardeners and turf growers alike, and it works because it puts strong, intact grass where the eye sees it and hides the bare patch in the middle of the lawn where it heals unnoticed.
- Mark and cut out the damaged section. Using a half-moon edger or a sharp spade, cut a rectangle around the broken edge. Leave at least 15cm (6 inches) of sound grass on either side of the damage, and cut 30 to 50cm (12 to 20 inches) back into the lawn. Cutting well beyond the damage gives you a piece large enough to handle without it falling apart.
- Lift the turf cleanly. Slide the spade horizontally underneath and lift the rectangle out in one piece, aiming to keep about 25mm (1 inch) of soil attached to the back so the roots stay intact. Work the blade flat and steady rather than stabbing, so the slab holds together.
- Rotate it 180 degrees. Turn the slab around so the strong, straight grass that was in the middle of the lawn now sits at the outer edge, and the broken, crumbling part faces inward. Fit it back into the hole. The healthy turf now forms your new, solid boundary.
- Repair the inner scar. The old damaged edge now sits as a gap or low patch inside the lawn. Fill it with a mix of grass seed and sieved, sterilised topsoil, firming it level with the surrounding turf. Because this scar is surrounded by lawn on all sides rather than sitting on an exposed edge, it knits in quickly and is soon invisible.
- Firm, water and protect. Press the rotated slab down with the back of a rake or by treading gently so the roots make contact with the soil beneath. Water the whole area thoroughly and keep it consistently moist until the turf has rooted and the seed has grown in strongly, which usually takes two to four weeks in mild conditions.
If a section has sunk rather than broken, you do not need to rotate it. Lift the slab the same way, trowel fresh topsoil underneath to raise it back to level, firm it, drop the turf back on top and water. Settling soil is the usual reason an edge dips, and adding soil beneath the existing grass solves it without any reseeding at all.
Tools, Timing and Seed Choice
You need very little kit. A half-moon edging iron is the right tool for cutting clean vertical lines and is worth owning if you care about edges: a Spear & Jackson half-moon iron costs around £17 to £20 ($20 to $25) at B&Q, Amazon or most garden centres, and a stainless version a few pounds more. A sharp spade will do the cutting if you do not have one, though the curved half-moon blade gives a neater finish. Add a plank of wood to stand on or to use as a straight guide, a rake for firming, and a bag of grass seed plus some topsoil for the scar.
Timing affects how well the repair takes. Turf roots fastest in the mild, moist conditions of spring and early autumn, when soil is warm but not baking and rainfall does much of the watering for you. A repair made then can knit in within a fortnight. You can absolutely do the job in summer, and crumbling edges are often at their most obvious then, but you must commit to watering: hot, dry soil will not knit roots, and a rotated slab left to dry out will simply die and shrink. If you repair in a heatwave, water daily, ideally in the early morning, and consider shading the area for the first week.
For the seeded scar, match the seed to your lawn and conditions. A hard-wearing ryegrass blend suits a family lawn and germinates quickly, while a fine fescue mix suits an ornamental lawn but is slower to establish. Buy a small bag of a general-purpose lawn seed and keep it for repairs through the year. Mixing the seed with sterilised topsoil rather than scattering it bare gives better contact, holds moisture around the seed, and keeps birds from taking it.
Keeping Edges Crisp So They Stop Breaking
A repaired edge will crumble again if you do nothing differently, so finish the job by protecting it. The simplest habit is to re-cut a clean vertical edge once or twice a year with the half-moon iron, slicing straight down to create a small gully between lawn and border. That vertical face stops the grass roots drying out at a ragged angle and gives the edge a defined line that resists collapse. Hold the iron upright with the curved blade resting on the turf and press down with your foot using a board or string line as a guide for a straight run.
To stop mower damage, keep the mower wheels off the very rim. Either leave a hand’s width of grass at the edge and trim it afterward with shears or a trimmer held vertically rather than flat, or install a physical edging. A flush-set edging board, brick course or metal edging strip laid level with the soil gives the mower wheel something firm to run along and gives the grass roots something to grow against, which is the long-term cure for an edge that keeps breaking. Where foot traffic is the problem, a stepping stone or a short run of paving set flush at the crossing point takes the wear off the turf entirely. Repair the edge once with rotated turf, re-cut it twice a year, and keep the mower wheel off the brink, and a crumbling boundary becomes a clean line that holds season after season.