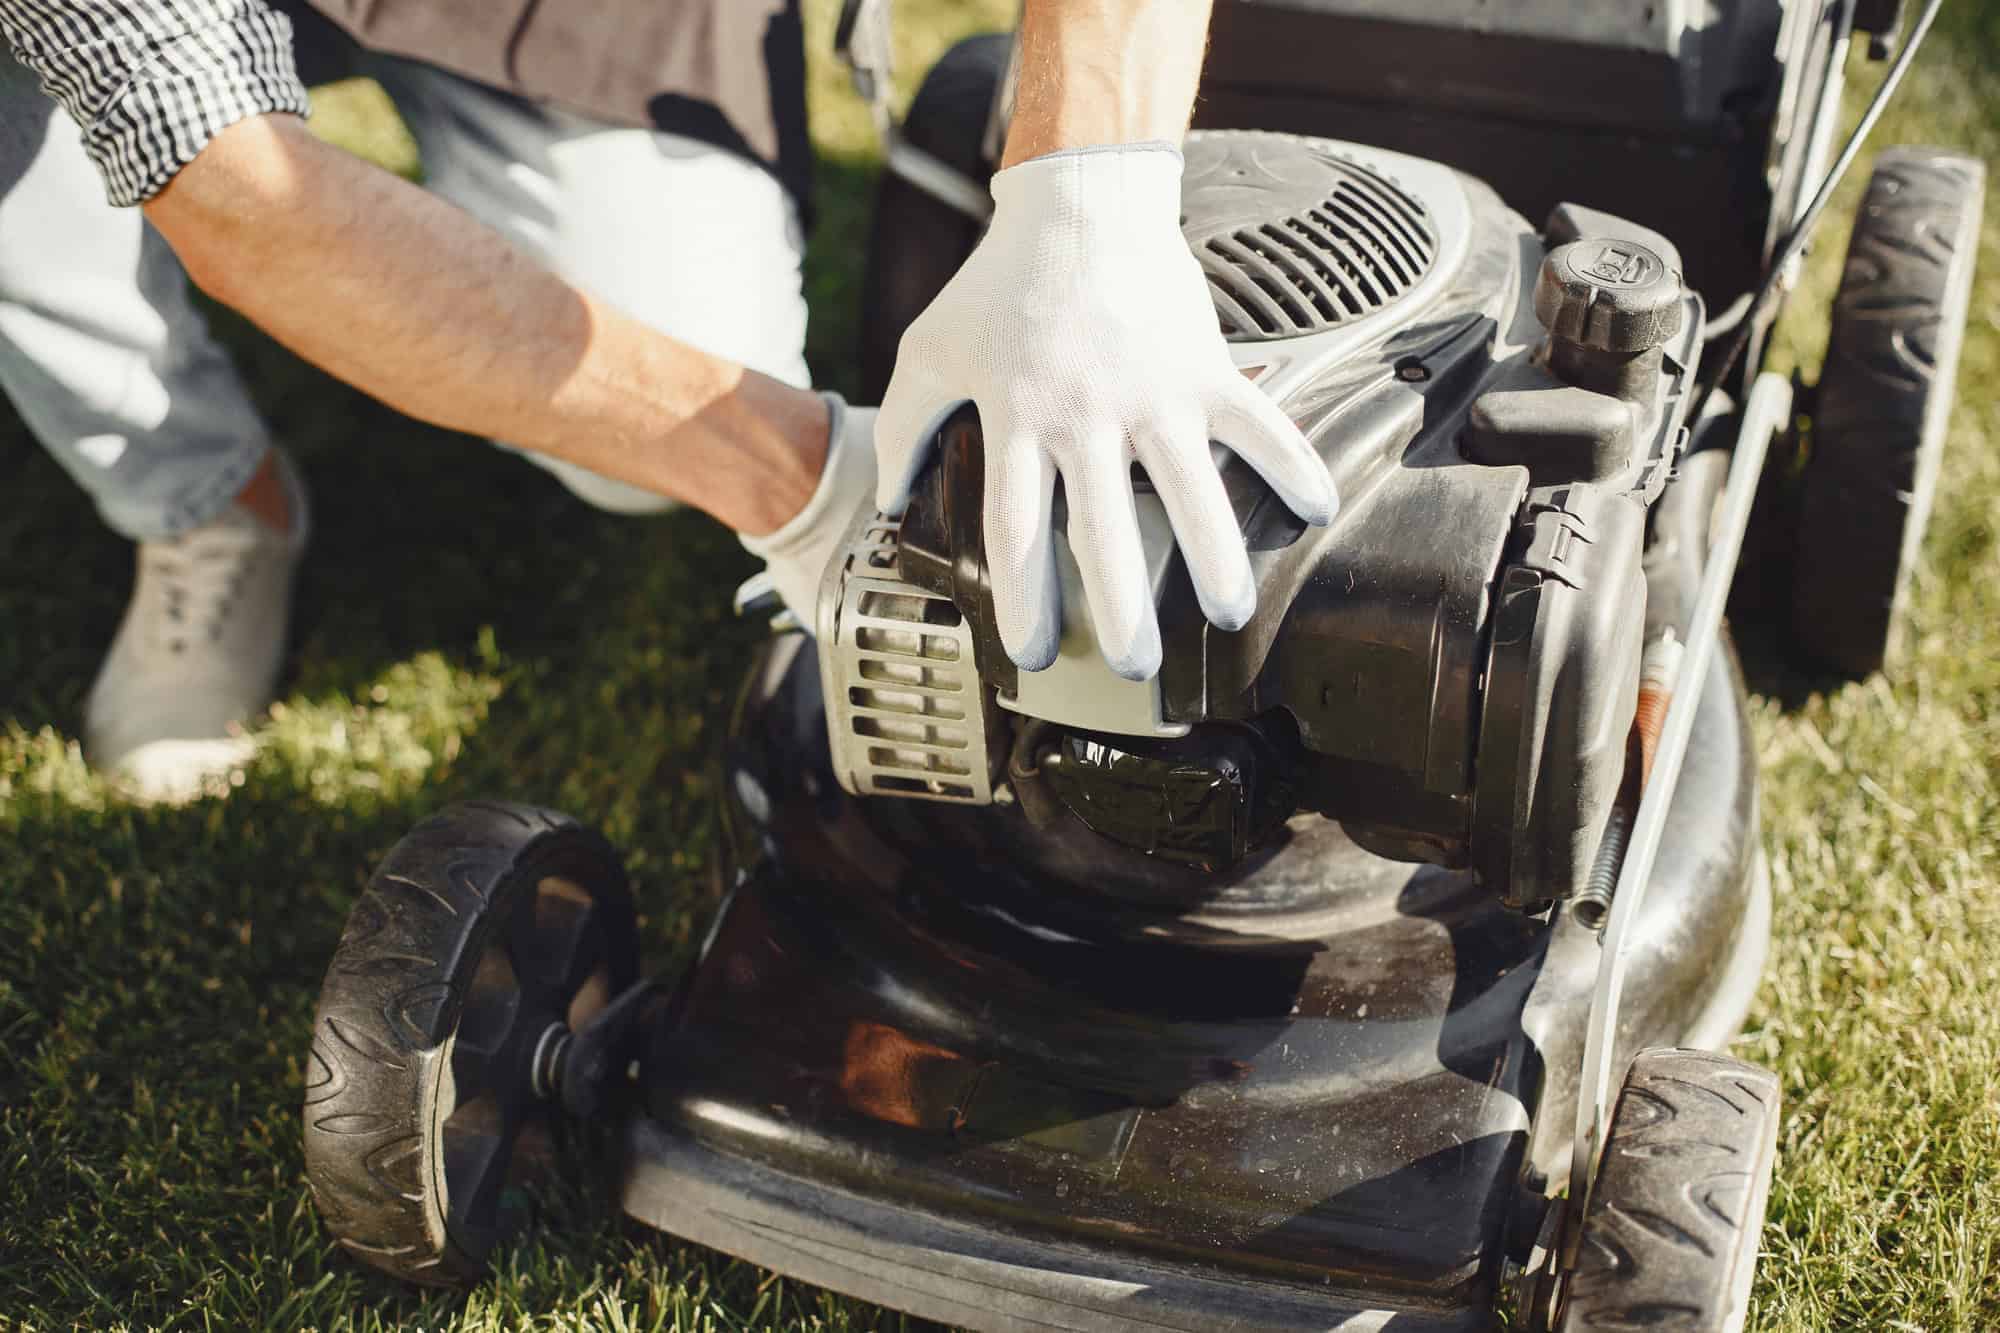
If a petrol mower takes ten pulls to start, sputters and dies, or runs rough all the way round the lawn, the carburettor is the first place to look. Family Handyman puts a figure on how common this is: small engine repair shops earn about 50 percent of their revenue by cleaning or replacing carburettors sidelined by old fuel.
The fix takes a morning at the bench and saves about an hour of shop labour, roughly $80 (£63) before parts. The sequence below follows the workshop method: prove the fault is fuel, get the carburettor off cleanly, check it for corrosion, then clean or swap it.
Prove It Is the Carburettor Before You Undo a Single Bolt
Start with the cheap checks. Confirm the fuel valve is open, there is fuel in the tank, and the spark plug is in good shape.
Then run the test that settles it. Shoot a one-second burst of aerosol lubricant or carburettor cleaner down the throat of the carburettor and yank the cord. If the engine runs or even just sputters and dies, you have a fuel problem. If there is no life at all after a few tries, the fault sits somewhere deeper and the engine wants a proper look on the bench.
That test works by bypassing the fuel circuit completely. The aerosol puts a combustible charge straight into the intake, past every jet and passage that could be blocked. A short burst of life proves compression and ignition are both fine, and points the finger squarely at fuel delivery.
The next check is whether fuel reaches the carburettor at all. Clamp off the fuel line, compress the spring clamp and slide it backward, then pull the tubing off the carburettor nipple and catch the fuel in a small bowl. Nothing coming out means a plugged fuel line or fuel filter, and the carburettor is innocent.
What Old Petrol Actually Does Inside a Carburettor
Fuel left in a mower over winter does not simply go stale. The light fractions evaporate off, and what remains oxidises into a sticky varnish and then a hard gum that plates itself onto brass and aluminium surfaces. The parts it coats are small. A main jet orifice on a walk-behind mower engine runs roughly 0.5 to 0.7mm (0.02 to 0.03in) across. A varnish film a few hundredths of a millimetre thick is enough to lean the mixture badly.
Ethanol-blended fuel adds a second problem. Ethanol pulls water out of the air, and once the blend holds more water than it can carry, the mixture separates into layers. The water-rich layer sits at the bottom of the tank and the bowl, exactly where the fuel pickup sits, and it corrodes aluminium and zinc carburettor bodies from the inside.
The float and needle valve explain most running faults. A float rides on the fuel in the bowl and lifts a needle into its seat to shut off flow at the right level. Gum on the needle holds it open and the engine floods. Gum on the pivot holds the float high and the engine starves halfway through a cut, which is the classic runs-then-stalls symptom.
Running lean burns exhaust valves and can cook a piston. Running rich washes the oil film off the cylinder bore and dilutes the sump with fuel. Neither happens in one afternoon, but a mower left to run badly all season pays for it.
Getting the Carburettor Off Without Losing Half of It
The carburettor sits near the top of the engine, connected to the fuel tank. Two bolts hold it to the engine. Take them out with a socket or nut driver, unhook the throttle cable from the carburettor linkage, and lift the carburettor into a container to catch the fuel that comes with it.
Gather the numbers before you go shopping for parts. You want the machine brand, model and serial number, the engine brand and serial number, and the numbers stamped on the carburettor body or its mounting flange. The engine model and serial plate normally sits above the spark plug. Turning up at a parts counter with only a brand name wastes the trip.
The tool list is short: a 4-in-1 screwdriver, an adjustable wrench, clamps, needle-nose pliers, a nut driver and a socket set. On the consumables side you want carburettor cleaner, plastic gloves, stiff wire, a rebuild kit if you go that route, and an organic vapour respirator. That last item is not optional padding. Carburettor cleaner strips paint, softens plastics and goes through skin, and the vapour is not something to breathe over an hour of bench work.
Corrosion Is the Test That Decides Rebuild or Replace
Open the carburettor bowl and look inside. If the interior is corroded, the carburettor needs replacing. Cleaning will not save it. The corrosion products keep breaking loose and clog the jets and the tiny drilled passages, and the engine runs badly again within weeks.
With no corrosion, a rebuild is on the table. The workshop view is blunt on the economics: rebuilding is not always cheaper and might not even fix the fault. A new carburettor sometimes costs less than the rebuild kit plus the chemicals, which is why many shops replace bad carburettors as a matter of routine rather than rebuilding them.
The numbers back that up. A 400ml aerosol of carburettor cleaner starts around £3.23 ($4) and runs to £9 ($11) for branded tins at Screwfix or Amazon. Briggs and Stratton overhaul kits sit at roughly $8 to $17 (£6 to £14). Complete replacement carburettors for common walk-behind engines often land in the same bracket. Add a bucket of soaking cleaner to a kit and the rebuild stops looking like a saving.
Cleaning, Reassembly and the Settings That Finish the Job
Work from the bottom up when you strip it: bowl, float, needle, seat. Keep every part together in one tray and take photographs as you go, so reassembly is not guesswork an hour later. Lay the new gaskets and O-rings from the kit alongside the old ones and match them one by one, then set aside the used parts you are discarding and any kit parts you do not need.
For cleaning, wire the larger metal parts together and drop them into a bucket of carburettor cleaner. Wrap the small parts in a piece of aluminium screen or drop them in a fine-mesh basket so nothing disappears. Soak for one hour. New parts out of the kit do not need cleaning. Keep rubber, plastic floats and any diaphragm out of the bucket entirely, as the solvent swells and hardens them.
After the hour, rinse everything with water and blow it dry with compressed air. Blow through every drilling you can find, and clear stubborn jets with a strand of stiff wire rather than a drill bit, which will open the orifice out and change the fuelling permanently.
Reassemble with the new gaskets, fit a fresh bowl gasket every time, and mount the carburettor back on the engine. Go easy on the bowl nut. On many Briggs and Stratton designs that nut is also the main jet, with cross-drilled feed holes through it, and overtightening or blocking those holes leaves the engine starved no matter how clean the rest of the body is. Follow the kit instructions for idle speed and mixture, start the engine and let it settle.
The last job is making sure you never do this again. Run the tank dry or drain it before the machine goes away for the winter, add a fuel stabiliser if you store it with fuel in, or move to alkylate fuel such as Aspen 4 at around £25 ($32) for 5 litres, which holds its condition for years rather than weeks. That habit costs a few minutes each autumn and removes the single most common reason mowers land on a repair bench in spring.