A mower that drags through four or five pulls before it catches, splutters under load, or dies halfway across the lawn is often carrying one cheap, worn-out part: the spark plug. It sits on the side of the engine under a rubber cap, it costs a few pounds to replace, and checking it takes ten minutes with a single socket. For a job this small, it fixes an outsized share of hard-starting and rough-running complaints on petrol mowers.
Family Handyman lists the spark plug check as core to every seasonal tune-up, and the logic is simple. The plug fires the spark that lights the fuel and air inside the engine on every cycle. A fouled or failing plug makes a weak spark or none at all, and a weak spark means a weak, reluctant engine. Here is how to read yours, clean or swap it, and set it up so the mower starts on the first pull.
What the Spark Plug Does and Why It Fails
Inside a petrol engine, a piston squeezes a mix of fuel vapour and air, and at the top of that squeeze the spark plug jumps a spark across a tiny gap between two metal electrodes. That spark lights the mixture, the burn drives the piston down, and the mower runs. This happens thousands of times a minute, so the plug takes a hard, repetitive beating.
Two things wear it out. The first is fouling, a build-up of soot, oil or baked-on carbon on the tip that lets the spark leak away instead of jumping the gap cleanly. The second is erosion, where the electrodes slowly burn back over hundreds of hours until the gap grows too wide for a reliable spark. Modern petrol blended with ethanol makes fouling worse, as stale fuel leaves gummy deposits that coat the tip. A plug can also crack or short out electrically with age. Any of these leaves you pulling the cord far more than you should.
Reading the Tip Tells You How the Whole Engine Is Running
The plug is a window into the engine, and the colour of its tip is the diagnosis. A plug pulled from an engine running well is light grey or tan across the electrode and the ceramic nose. That is the target.
A tip coated in dry black soot points to a rich running condition, too much fuel for the air, often from a clogged air filter or a choke left on. An oily, wet black tip suggests oil reaching the combustion chamber, which on an older mower can mean worn internals or simply too much oil in the sump. A tip that is blistered chalky white with tiny melted specks points the other way, to an engine running too hot or too lean. Learning to read these saves money: the plug itself is rarely the root problem when it fouls fast, and the colour tells you where to look next rather than leaving you guessing.
Alongside the colour, watch the symptoms. Hard starting, a misfire or stumble under load, rough idling, and a jump in fuel use all point at the ignition end of the engine. The plug is the first and cheapest thing to rule out.
Removing and Inspecting It Safely
Before you touch anything, pull the spark plug wire off the plug. This is the one step you never skip. With the wire disconnected the engine cannot fire, so there is no risk of it kicking over while your hands are near the blade. Do not reconnect that wire until every other job on the mower is finished and the blade is secured.
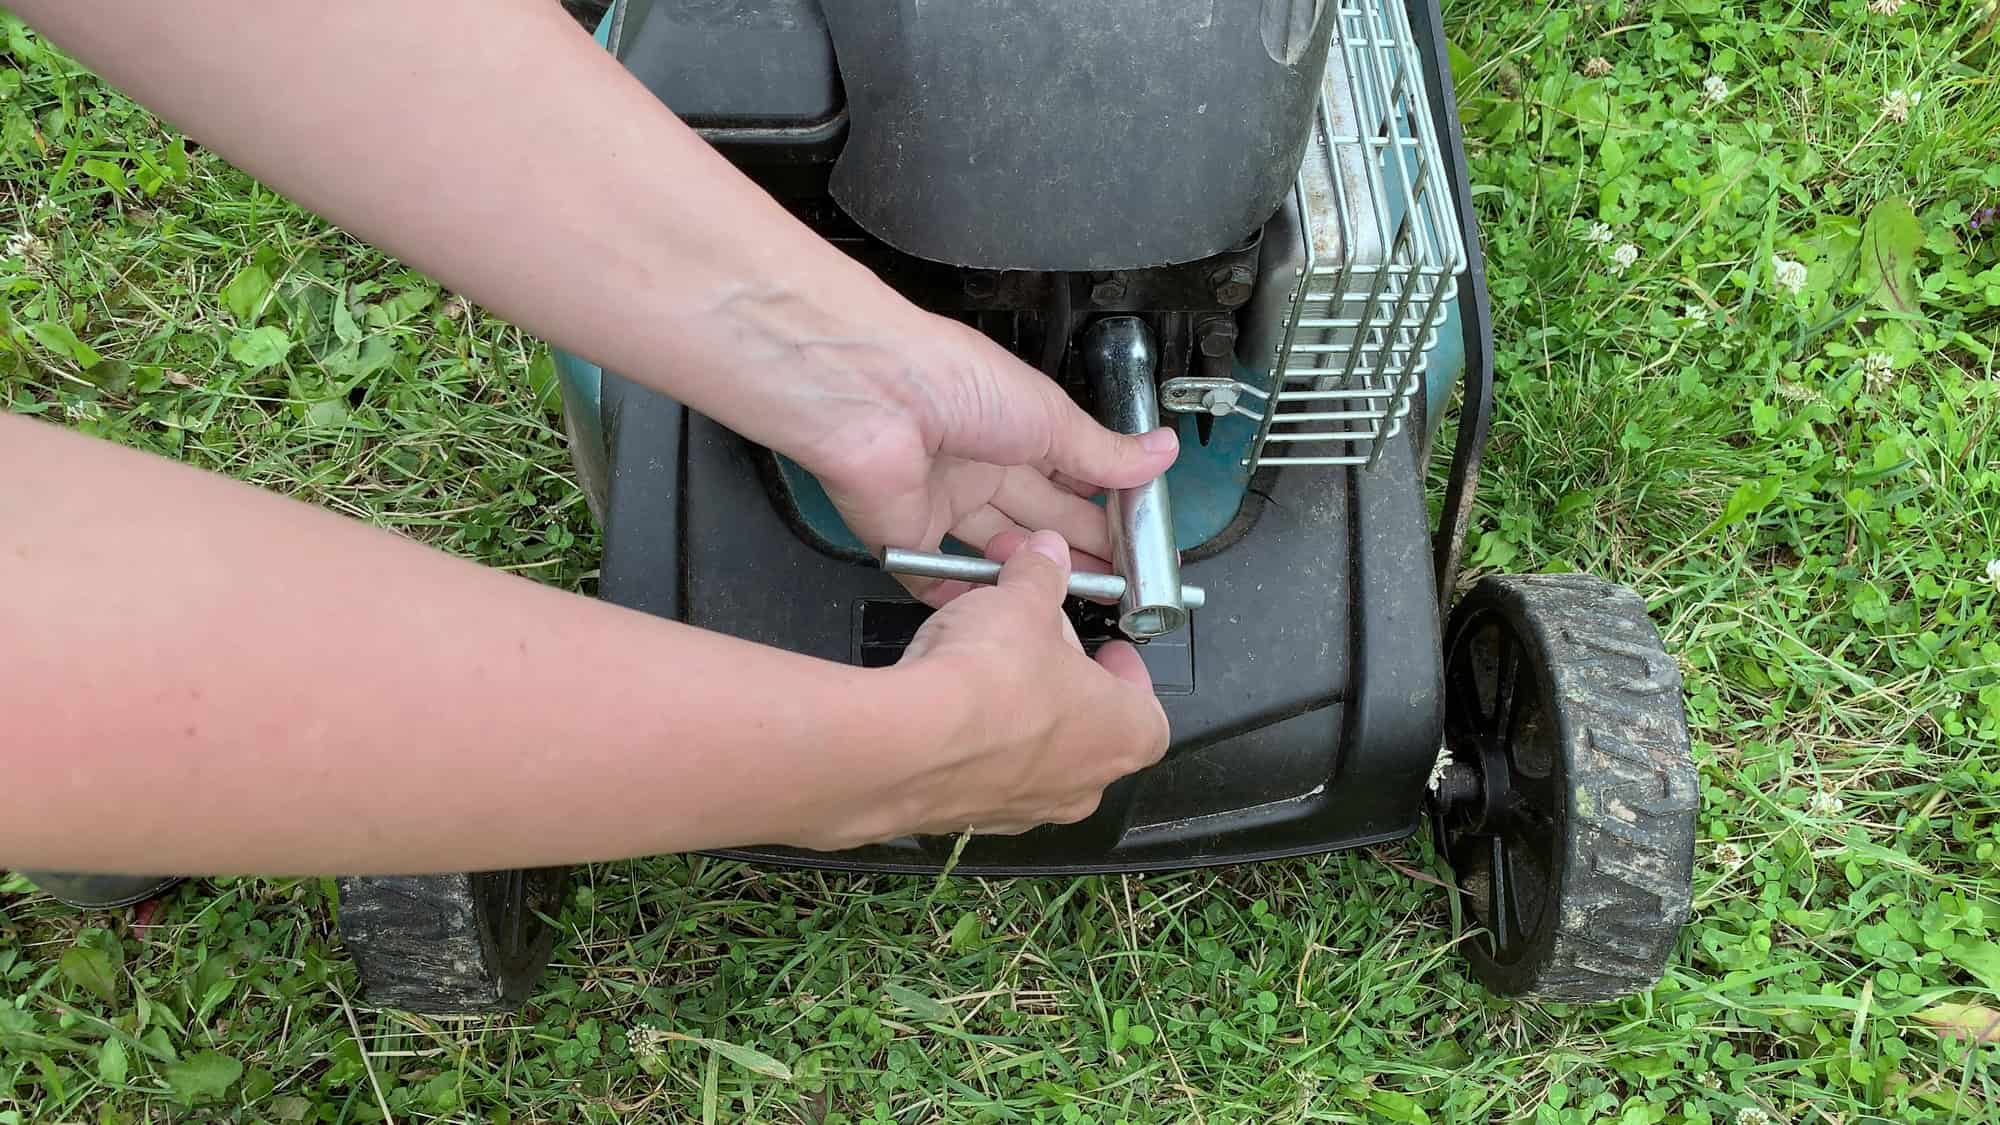
The plug lives on the side or front of the engine, capped by a thick rubber boot. Grip the boot, not the wire, and pull it straight off. Brush away loose grit from around the plug so nothing drops into the cylinder once the plug is out. Fit a spark plug socket, a deep socket with a rubber insert, onto a ratchet and turn anticlockwise to loosen, then unscrew the plug by hand the rest of the way.
With the plug out, look at the tip against the colour guide above. Check the ceramic insulator for hairline cracks and the electrodes for heavy rounding or erosion. A light tan plug with sharp-edged electrodes can go straight back in. A cracked one, a badly eroded one, or one you cannot wipe clean gets replaced.
Cleaning, Replacing and Setting the Gap
Light deposits come off with a small wire brush and a rag; avoid grit blasting, which can leave abrasive behind. Cleaning buys you time, but a plug is cheap enough that replacement is the honest fix once it is worn. Family Handyman’s seasonal rule is worth following: a plug older than three years should be swapped for a fresh one of the same type so you head into the next season on a known-good part. Many small-engine makers suggest a new plug once a year or every 100 running hours, whichever comes first.
Match the replacement to your engine. The plug’s part code is stamped on the old one, and common small-engine plugs include the NGK BPR6ES, which runs around 4 to 5 pounds or 4 to 6 dollars at Halfords, Screwfix, Amazon, Home Depot or Lowe’s. Take the old plug to the counter or read the code straight off it rather than guessing.
The gap is the detail that decides whether the new plug works well. It is the distance the spark has to jump between the centre and side electrodes, and it has to be right. Too wide and the spark grows weak or fails to bridge the gap at all; too narrow and the spark is small and feeble, giving a poor burn. Most walk-behind mower engines want a gap of roughly 0.7 to 0.8 millimetres, about 0.028 to 0.031 of an inch, but the exact figure is in your engine manual, so check it rather than assuming. Set it with a feeler gauge or a coin-style gap tool, both around 4 to 6 pounds or 5 to 8 dollars, and bend the side electrode gently until the correct blade of the gauge drags with light friction.
Refitting Without Wrecking the Threads
Petrol mower engines almost all have an aluminium cylinder head, and aluminium threads strip easily. Start the plug by hand, turning it several full turns into the hole before the socket goes anywhere near it. If it does not thread smoothly by finger, back it out and start again; forcing a cross-threaded plug into a soft aluminium head is an expensive mistake that a workshop has to drill and re-tap.
Once it is finger-tight against its seat, snug it with the ratchet. A used plug with its old gasket wants about a further eighth to a quarter turn; a new plug with a fresh gasket wants around half a turn to crush the gasket and seal. If you own a torque wrench, most 14 millimetre small-engine plugs call for roughly 15 to 20 newton metres, but the feel of firm and no more is the practical guide. Overtightening cracks the ceramic or strips the head; undertightening lets compression leak past the seal and the engine runs poorly.
Push the rubber boot back onto the plug last of all, once the blade and every other part are back in place, and press it on firmly until it clicks home over the terminal. Pull the cord, and a mower that fought you before will usually catch on the first or second try.
Keep a spare plug on the shelf for a few pounds and the job never strands you mid-cut. Read the tip each time you pull it, set the gap with a gauge rather than by eye, and treat the aluminium threads with care, and this ten-minute check will keep a petrol mower starting cleanly through the rest of the cutting season and into next spring.