Have you ever wondered how to charge a lawn mower battery properly? Whether you’re a seasoned lawn care enthusiast or just starting out, understanding the ins and outs of charging your mower’s battery is essential for maintaining its performance and longevity.
While routine charging may not be necessary, there are specific instances when you may need to give your battery a boost. So, how can you ensure that you’re charging it correctly and efficiently?
Key Takeaways:
- Knowing when to charge your lawn mower battery can help prolong its life and ensure smooth operation.
- Choose a modern battery charger with advanced features to make the charging process safer and more efficient.
- Using the correct charger for your specific battery voltage and recommended amp output is crucial for preventing damage.
- Following the proper steps for charging and maintaining your lawn mower battery will ensure optimal performance.
- Be aware of safety precautions to avoid any hazards while charging your battery.
When to Charge a Lawn Mower Battery
There are several instances when you may need to charge your lawn mower’s battery. These include:
- Before starting the mower for the first time in the spring
- Before storing it for the winter months
- If the battery unexpectedly dies before mowing
Routine charging is not necessary, but it’s important to be prepared for these situations to ensure your mower starts up smoothly. Following the manufacturer’s recommendations and maintaining a schedule for charging will help prolong the life of the battery.
| Charging Situation | Frequency |
|---|---|
| Before starting in spring | Yearly |
| Before storing for winter | Yearly |
| If battery dies before mowing | As needed |
Choosing a Modern Battery Charger
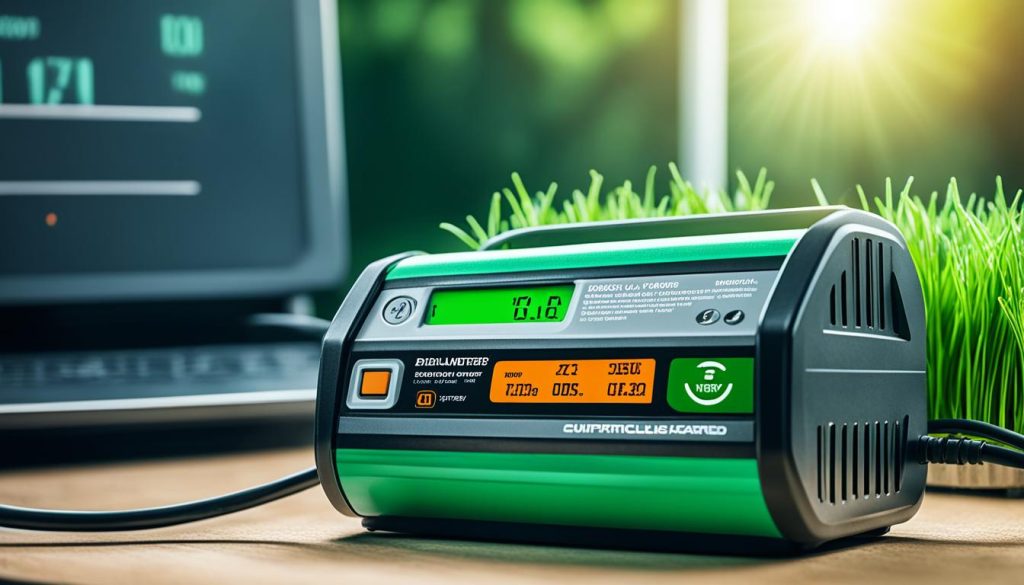
Today’s battery chargers offer a range of advanced features that make charging lawn mower batteries safer and more efficient. When selecting a charger for your lawn tractor’s battery, consider the following:
- Multiple Mode Settings: Look for a charger that provides various mode settings, such as slow charge, fast charge, and jumpstart. These settings cater to different charging needs and ensure the battery is charged optimally.
- Hookup Failsafe: Choose a charger with a hookup failsafe feature that prevents sparking or other electrical hazards during the charging process.
- Integrated Charging Timer: An integrated charging timer allows you to set a specific charging time, ensuring that the battery is not overcharged.
- Automatic Shutoff: Opt for a charger with an automatic shutoff feature that stops the charging process once the battery reaches its full capacity. This helps prevent overcharging and prolongs the battery life.
- Clamps for Multiple Connection Types: Some chargers come with clamps that are compatible with different battery connection types, making them versatile and convenient to use.
- Float Modes for Optimal Charging: Chargers with float modes help maintain the battery’s charge at a safe level without overcharging, ensuring it is ready to use whenever needed.
- Controlled Amp Rates: A charger with controlled amp rates allows you to adjust the charging speed according to your battery’s requirements, preventing any damage caused by excessive charging.
Investing in a modern battery charger with these features will not only make the charging process easier but also help extend the life of your lawn mower battery.
 Choosing the right battery charger is crucial for efficiently charging your lawn mower battery and keeping it in optimal condition.
Using the Correct Charger for Your Battery
One of the most crucial aspects of charging a lawn mower battery is using the correct charger. Using the wrong charger can lead to potential damage to the battery or even safety hazards. To ensure a safe and effective charging process, it’s important to follow these best practices:
1. Match the Voltage
Most lawn tractors made after 1980 are equipped with a 12-volt battery. Therefore, it’s essential to connect a 12-volt charger to match the battery’s voltage. Using a charger with the wrong voltage can cause overcharging or undercharging, both of which can have detrimental effects on the battery’s performance and lifespan.
2. Check for Voltage Toggle Settings
Some chargers come with a voltage toggle feature, allowing you to switch between 12-volt and 6-volt settings. If your lawn mower has a 6-volt battery, make sure to choose the appropriate voltage setting on the charger. Using the wrong voltage setting can result in improper charging and potential damage to the battery.
3. Mind the Amp Output
It’s recommended to use a charger with an output of 10 amps or fewer when charging a lawn mower battery. Higher amp outputs can lead to rapid charging, which can generate excess heat and damage the battery. By using a charger with an appropriate amp output, you can ensure a safe and controlled charging process that won’t compromise the battery’s integrity.
By following these best practices and using the correct charger, you can maintain the health of your lawn mower battery and ensure optimal performance. Remember to always consult the manufacturer’s recommendations and guidelines for your specific mower and battery model.
| Best Practices for Using the Correct Charger |
|---|
| Match the charger voltage to the battery voltage (12-volt for most modern lawn tractors). |
| Check for voltage toggle settings to match the battery’s voltage (6-volt for some lawn mowers). |
| Use a charger with an output of 10 amps or fewer to prevent damage to the battery. |
Charging Steps for a Lawn Mower Battery
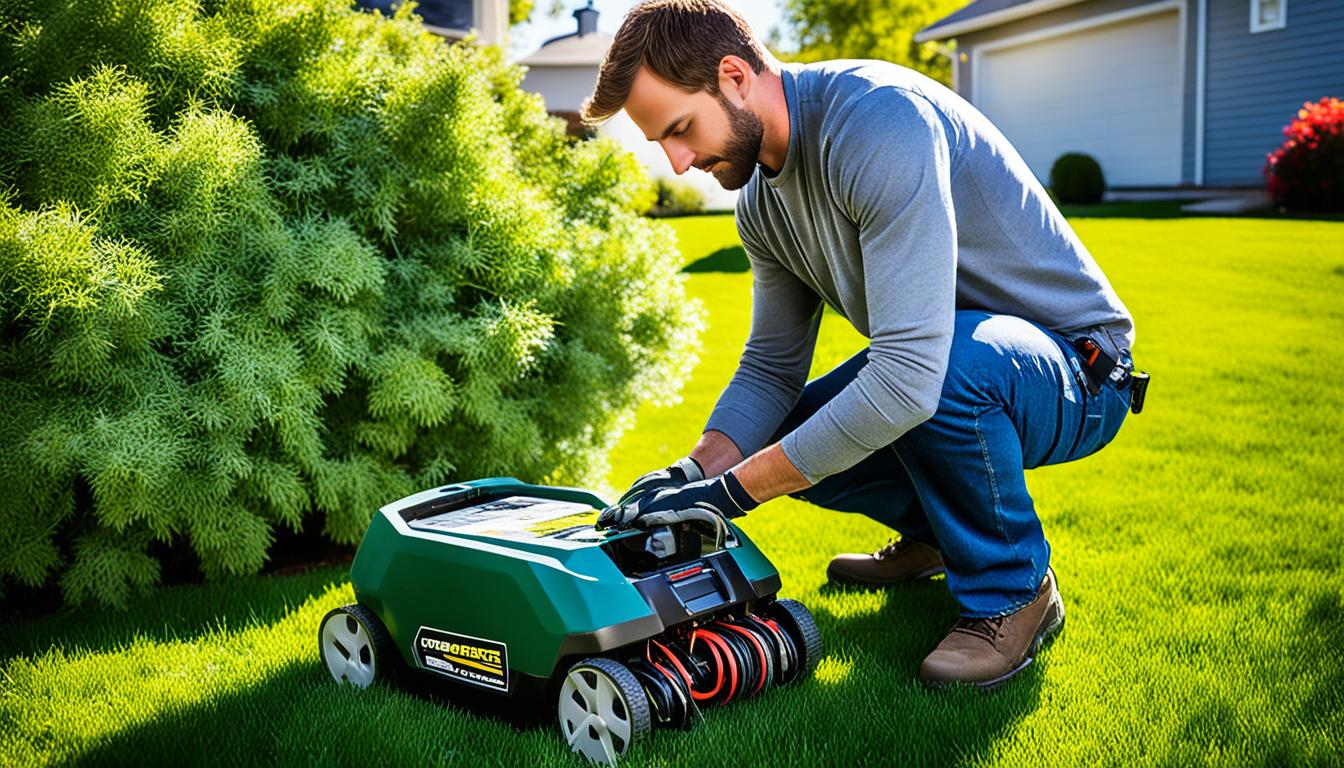
Charging a lawn mower battery is a simple process that can be done without removing the battery from the mower. Follow these steps to ensure proper charging:
- Step 1: Locate the battery on your lawn mower. It is usually located under the seat or near the engine.
- Step 2: Ensure that the mower’s engine is turned off and the ignition key is removed.
- Step 3: Examine the battery terminals for any corrosion or dirt. If necessary, clean the terminals using a wire brush or a battery terminal cleaner.
- Step 4: Connect the charger’s positive clamp (usually red) to the positive terminal of the battery, marked with a “+” or a red cover.
- Step 5: Connect the negative clamp of the charger (usually black) to the negative terminal of the battery, marked with a “-” or a black cover.
- Step 6: Plug in the charger to a standard electrical outlet.
- Step 7: Turn on the charger and select the appropriate charging mode according to the manufacturer’s instructions.
- Step 8: Allow the battery to charge completely. The charger may have an indicator light or display that shows the progress of the charging process.
- Step 9: Once the battery is fully charged, turn off the charger and unplug it from the electrical outlet.
- Step 10: Disconnect the charger’s clamps from the battery terminals, starting with the negative clamp and then the positive clamp.
Following these steps will help ensure that your lawn mower battery charges correctly and is ready to power your mower when needed.
Charging Time for a Lawn Mower Battery
When it comes to charging a lawn mower battery, the charging time can vary depending on the amp rate of the charger. If you’re using a 10-amp charger, you can expect the battery to charge in approximately one hour. However, if you’re using a charger with fewer amps, the charging time may be longer.
It’s important to refer to the manufacturer’s recommendations and the charger’s manual for specific guidelines on charging time. These guidelines will give you the most accurate estimate for how long it will take to fully charge your lawn mower battery.
Keep in mind, overcharging the battery can lead to potential damage or reduced battery life. It’s crucial to avoid leaving the battery connected to the charger for an extended period after it has reached a full charge. This can help prevent any negative effects and ensure the longevity of your lawn mower battery.
Charging Time Examples for Different Amp Rates
| Amp Rate | Charging Time |
|---|---|
| 10 amps | Approximately 1 hour |
| 8 amps | Approximately 1.25 hours |
| 6 amps | Approximately 1.5 hours |
These examples showcase the estimated charging times based on different amp rates. Remember to use the appropriate charger for your lawn mower battery to optimize the charging process and avoid any potential issues.

Lawn Mower Battery Maintenance
Regular maintenance is essential to ensure the longevity and optimal performance of your lawn mower battery. By following these best practices, you can prolong the life of your battery and save yourself from potential headaches down the line.
1. Clean the Battery
Start by disconnecting the battery cables and using a mixture of baking soda and water to clean the battery terminals and remove any corrosion. This helps maintain a good connection and prevents voltage loss. Rinse with clean water and make sure the terminals are completely dry before reconnecting the cables.
2. Check the Water Level (if applicable)
If you have a lead-acid battery, it’s important to check the water level regularly. Open the battery caps and ensure that the water level is above the plates, but not overflowing. Add distilled water if necessary. This step is not applicable for maintenance-free batteries.
3. Inspect for Damage
Visually inspect the battery for any signs of damage, such as cracks or leaks. If you notice any damage, it’s crucial to replace the battery immediately to avoid potential safety hazards.
4. Store the Battery Properly
If you’re storing your lawn mower for an extended period, it’s important to remove the battery and store it separately in a cool, dry place. Make sure to charge the battery to around 70% before storage, as a fully discharged battery can freeze in cold temperatures, causing irreversible damage.
5. Use a Battery Maintainer
A battery maintainer, also known as a battery tender, can help keep your lawn mower battery charged and in good condition during long periods of inactivity. It provides a slow and steady charge to prevent overcharging and prolong the battery’s life.
By following these maintenance practices, you can maximize the lifespan of your lawn mower battery and ensure that it’s always ready when you need it.
Troubleshooting Lawn Mower Battery Charging Issues
If you encounter any issues while charging your lawn mower battery, there are a few common troubleshooting steps you can try:
- Check the Battery Connections: Ensure that the battery connections are secure and free from corrosion. Clean any corrosion on the battery terminals using a mixture of baking soda and water, and a wire brush if necessary.
- Inspect the Charger: Make sure that the charger is functioning correctly. Check for any visible damage or loose connections. Try using a different charger to see if the issue persists.
- Verify Power Source: Ensure that the power source you are using is functioning properly. Test the outlet or power supply with another device to confirm that it is supplying adequate power.
- Check the Charger Settings: Verify that the charger is set to the appropriate settings for your lawn mower battery. Incorrect settings, such as using a higher voltage or amp rate than necessary, can lead to charging issues.
- Test the Battery: Use a voltmeter to check the voltage of the battery. If the voltage is too low, the battery may need to be replaced. However, if the voltage is sufficient, it could be an issue with the charger or the charging process itself.
If the troubleshooting steps above do not resolve the issue, it may be necessary to consult a professional for further assistance. They will be able to diagnose and fix any complex electrical problems with your lawn mower battery charging system.
| Issue | Possible Cause | Troubleshooting Steps |
|---|---|---|
| Battery not charging | Loose or corroded connections, faulty charger | Check battery connections, inspect charger, verify power source, test battery voltage |
| Charger not functioning | Damaged charger, loose connections | Inspect charger for damage, check connections, try using a different charger |
| Incorrect charger settings | Wrong voltage or amp rate | Verify charger settings, adjust if necessary |
| Battery not holding charge | Old or faulty battery | Test battery voltage, consider replacing battery |
Remember to follow the manufacturer’s guidelines and safety precautions when troubleshooting and handling lawn mower batteries.
Safety Precautions for Charging a Lawn Mower Battery
When it comes to charging a lawn mower battery, it’s important to prioritize safety to prevent any accidents or injuries. Here are some essential safety precautions to follow:
- Read the manufacturer’s instructions: Before attempting to charge your lawn mower battery, carefully read and understand the instructions provided by the battery manufacturer. Familiarize yourself with the specific safety precautions and guidelines they recommend.
- Choose a well-ventilated area: Charging a battery can release potentially harmful gases, so it’s crucial to charge it in a well-ventilated area. Avoid charging the battery in enclosed spaces or near flammable materials.
- Wear protective gear: To protect yourself from any potential hazards, wear appropriate protective gear such as safety glasses, gloves, and a face mask. This will minimize the risk of injury from acid spills or accidental contact with the battery.
- Inspect the battery: Before connecting the charger, inspect the battery for any visible damage or leaks. If you notice any cracks, corrosion, or other abnormalities, do not proceed with the charging process and consult a professional.
- Connect the charger correctly: Ensure that the charger is compatible with your lawn mower battery and that you connect the charger’s clamps to the correct terminals. The positive (red) clamp should be connected to the positive terminal, and the negative (black) clamp should be connected to the negative terminal.
- Avoid overcharging: Overcharging a battery can lead to damage and reduce its lifespan. Set a timer or use a charger with automatic shut-off to prevent overcharging. Follow the recommended charging time provided by the battery manufacturer or consult the charger’s manual.
By following these safety precautions, you can charge your lawn mower battery with confidence, knowing that you have taken the necessary steps to protect yourself and maintain a safe charging environment.
Conclusion
Knowing how to charge a lawn mower battery correctly is crucial for maintaining the performance and longevity of your mower. By following the recommended steps, choosing the right charger, and conducting regular maintenance, you can ensure that your battery stays in optimal condition.
To charge your lawn mower battery, leave it in place and connect the correct charger that matches your battery’s voltage. Use a charger with an output of 10 amps or fewer to prevent any potential damage. Refer to the manufacturer’s guidelines for specific instructions and charging times.
Additionally, prioritize safety when charging your battery. Follow the recommended precautions, such as wearing protective gloves and eyewear, keeping the charger away from flammable materials, and connecting the charger in a well-ventilated area.
By following these best practices and taking the necessary precautions, you can keep your lawn mower running smoothly season after season. Remember to consult the manufacturer’s guidelines for any specific instructions and recommendations to ensure optimal battery performance and overall mower efficiency.


