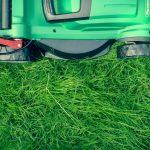
A thick, spongy lawn that feels springy underfoot often signals an excessive buildup of thatch – a dense layer of dead grass, roots, and organic debris that accumulates between the soil surface and living grass blades. Dethatching involves removing this problematic layer using specialised rakes or power equipment to restore proper water, air, and nutrient flow to grass roots. When thatch exceeds three-quarters of an inch thick, it begins blocking essential resources from reaching the root zone.
Many homeowners struggle with patchy, yellowing grass without realising that excessive thatch may be the culprit. This organic mat can harbour pests and diseases whilst preventing fertilisers and water from penetrating to where grass needs them most. Different grass types accumulate thatch at varying rates, with some requiring attention every few years whilst others rarely develop problematic levels.
The process involves more than simply raking vigorously across the lawn surface. Proper timing depends on grass type, with cool-season varieties best dethatched in early spring or autumn, whilst warm-season grasses benefit from late spring treatment. Understanding when your lawn actually needs dethatching – and when it doesn’t – can mean the difference between a thriving lawn and one that suffers unnecessary stress from improper treatment.
Understanding Thatch and Its Impact
Thatch is a natural layer of organic matter that forms between grass blades and soil, consisting of dead and living plant materials. This layer can benefit lawn health when thin but creates significant problems when it becomes too thick.
What Is Thatch and Thatch Layer
Thatch is composed of dead stems, leaves, and roots that accumulate naturally as grass grows and sheds organic matter. The thatch layer sits between the green grass blades and the soil surface, creating a cushioning effect.
A healthy thatch layer measures less than 12mm thick and provides several benefits to lawn care. It retains moisture in the soil, insulates grass roots from temperature extremes, and reduces soil erosion. This organic matter also decomposes slowly, releasing nutrients back into the soil.
Normal thatch thickness: Less than 12mm Problem threshold: More than 19mm thick
The thatch layer develops differently depending on grass type. Cool-season grasses like fescue and Kentucky bluegrass typically produce less thatch than warm-season varieties. Fast-growing grass species create more organic debris, leading to quicker thatch accumulation.
How Thatch Affects Lawn Health
Excessive thatch creates a barrier that prevents water, oxygen, and nutrients from reaching grass roots. Water pools on the surface or runs off rather than penetrating into the soil. This prevents proper hydration of the root system.
Thick thatch layers harbour fungal diseases and insect pests. The organic matter creates ideal breeding conditions for harmful organisms that damage grass. Lawn diseases spread more easily through dense thatch.
Grass roots grow in the thatch layer instead of extending into the soil when buildup becomes severe. This creates shallow root systems that are vulnerable to drought and temperature stress. The lawn becomes spongy underfoot and develops uneven growth patterns.
Signs of excessive thatch:
- Water pooling on surface
- Spongy feeling when walking
- Increased pest activity
- Patchy grass growth
- Dry appearance despite watering
Causes of Thatch Build-up
Certain grass varieties naturally produce more thatch than others. Warm-season grasses like zoysia and bermuda grass create thick, fibrous stems that decompose slowly. These varieties require more frequent thatch management.
Over-fertilising with nitrogen accelerates grass growth, creating more organic matter than can decompose naturally. Excessive fertiliser applications particularly increase stem and leaf production. This rapid growth overwhelms the natural decomposition process.
Poor soil conditions slow the breakdown of organic matter. Compacted soil, incorrect pH levels, and lack of beneficial microorganisms reduce decomposition rates. Clay soils with poor drainage are particularly prone to thatch problems.
Infrequent mowing and removing grass clippings can contribute to buildup. Long grass produces more organic debris when finally cut. However, leaving appropriate amounts of clippings helps maintain natural decomposition cycles.
When and Why to Dethatch
Dethatching becomes necessary when the thatch layer exceeds half an inch thick, blocking vital nutrients and water from reaching grass roots. The timing depends on grass type and growth patterns, with cool-season grasses requiring attention in early spring or autumn.
Recognising Signs Your Lawn Needs Dethatching
Several clear indicators reveal when a lawn requires dethatching. The most obvious sign is a bouncy, spongy feeling underfoot when walking across the grass.
A simple finger test provides immediate feedback about thatch thickness. If pushing a finger through the grass to reach soil proves difficult or impossible, the thatch layer likely exceeds the recommended half-inch depth.
Visual inspection offers another reliable method. Dig up a small section of turf with a trowel to measure the thatch layer directly. Thatch appears as a brown, fibrous layer between the green grass and soil surface.
Water absorption problems signal excessive thatch buildup. Water may pool on the surface rather than soaking into the ground, even during light rainfall.
The lawn may show signs of stress despite regular watering and fertilising. Grass roots growing in the thatch layer instead of soil create shallow root systems that struggle during drought conditions.
Brown patches or fungal diseases often develop when thick thatch retains too much moisture around grass crowns.
Determining the Best Time to Dethatch
Cool-season grasses like Kentucky bluegrass require dethatching during their peak growing periods in early spring or early autumn. These periods provide optimal recovery conditions with moderate temperatures and adequate moisture.
Early spring dethatching works best when soil temperatures reach 10-15°C and grass shows active growth. This timing allows recovery before summer stress periods arrive.
Autumn dethatching should occur 4-6 weeks before the first expected frost. This schedule gives grass sufficient time to recover before winter dormancy.
Warm-season grasses including Bermuda grass need dethatching during late spring when they enter active growth phases. Wait until soil temperatures consistently reach 18°C or higher.
Avoid dethatching during periods of environmental stress. Hot summer weather, drought conditions, or disease outbreaks create poor recovery conditions that may damage the lawn permanently.
Weather conditions matter significantly. Choose days with mild temperatures and adequate soil moisture, avoiding periods immediately before or after heavy rainfall.
Grass Types and Dethatching Frequency
Different grass varieties accumulate thatch at varying rates, requiring different maintenance schedules. Kentucky bluegrass and creeping bentgrass among cool-season varieties need annual dethatching due to their aggressive growth habits.
Bermudagrass and zoysiagrass represent warm-season grasses that typically require yearly thatch removal. These varieties produce dense growth patterns that create thick thatch layers quickly.
Tall fescue and ryegrass varieties rarely need frequent dethatching. These grasses may only require attention every three to five years, if at all.
Annual inspection remains essential regardless of grass type. Check thatch thickness each spring to determine whether intervention is necessary that year.
Some lawns benefit from professional assessment, particularly when multiple grass types exist or growing conditions vary significantly across the property. Mixed grass areas may need customised dethatching schedules.
Newly established lawns typically don’t require dethatching for the first two years. Young grass needs time to develop adequate root systems before withstanding the stress of thatch removal.
Methods and Tools for Dethatching
Several dethatching methods exist, from manual raking with dethatching rakes to power equipment like vertical mowers and scarifying machines. The choice depends on lawn size, thatch thickness, and budget considerations.
Manual Dethatching Tools and Techniques
A dethatching rake features short, sharp tines designed to dig into thatch layers and pull debris upward. These specialised rakes differ significantly from standard garden rakes or leaf rakes.
Manual dethatching works best on lawns smaller than 500 square metres. The process requires digging the tines into the thatch buildup and pulling upward with firm strokes.
Key manual tools include:
- Dethatching rake: Heavy-duty tool with curved metal blades
- Manual thatching rake: Lighter option for moderate thatch buildup
- Spring-tine rake: Basic tool suitable for light dethatching
Manual dethatching provides precise control over pressure and depth. Homeowners can work systematically across the lawn, focusing extra attention on heavily thatched areas.
The physical effort required is considerable. Expect to spend 2-3 hours per 100 square metres of lawn coverage.
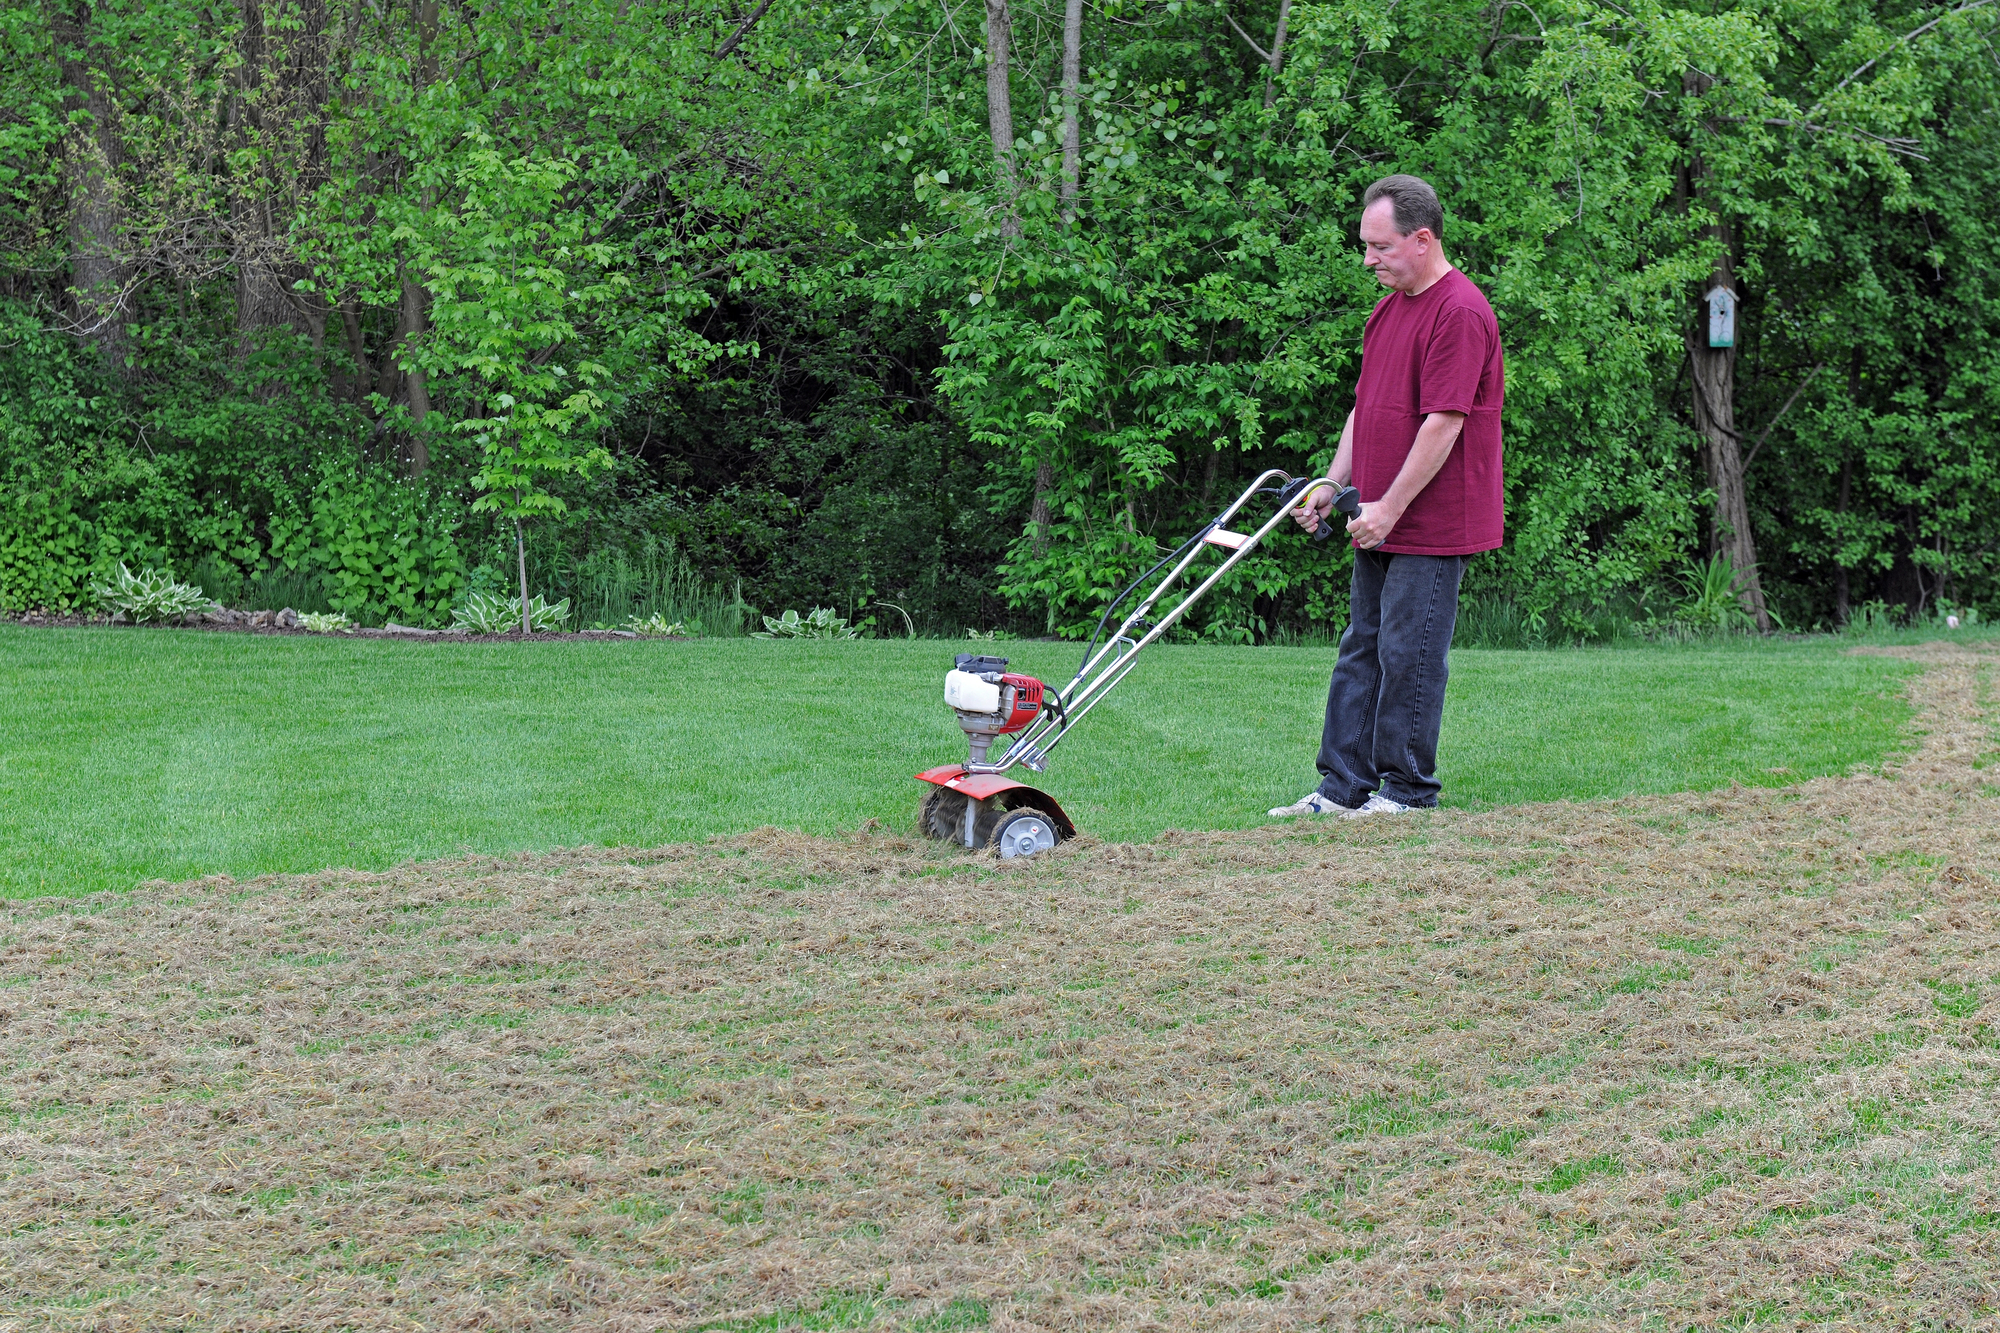
Using a Power Rake or Dethatcher
A power rake mechanically removes thatch using rotating flails or tines. These machines cover ground faster than manual methods and handle thick thatch more effectively.
Power dethatchers work by cutting into the thatch layer at adjustable depths. Most units allow depth settings between 6-13mm below the surface.
Operating procedure:
- Set cutting depth to maximum 12mm into soil
- Make initial passes in one direction
- Complete second pass perpendicular to first
- Collect loosened debris with leaf rake
Rental costs typically range from £40-80 per day. These machines require physical strength to operate and transport.
Power rakes suit lawns between 500-2000 square metres. Larger properties benefit from professional equipment or hiring contractors.
Choosing the Right Equipment for Your Lawn
Lawn size determines equipment selection. Gardens under 300 square metres work well with manual dethatching rakes. Medium gardens (300-1000 square metres) benefit from power rakes.
Thatch thickness influences tool choice. Light thatch buildup (under 12mm) responds to manual raking. Heavy accumulation requires power equipment or professional services.
Grass type affects equipment settings:
- Cool-season grasses: Shallow settings (6-8mm depth)
- Warm-season varieties: Moderate depth (8-10mm)
Budget considerations include tool purchase versus rental costs. Manual dethatching rakes cost £25-60. Power rake rental averages £50-70 daily.
Physical capability matters significantly. Manual dethatching demands sustained physical effort. Power equipment requires strength for handling and manoeuvrability.
Vertical Mowers and Scarifying
Vertical mowers use rotating blades that cut vertically into thatch layers. These machines provide more aggressive dethatching than standard power rakes.
Vertical cutting creates narrow grooves in the lawn surface. The blades slice through thatch buildup and surface roots, promoting new grass growth.
Scarifying represents the most intensive dethatching method. Commercial scarifiers cut deeper into soil and thatch layers simultaneously.
Professional scarifying equipment costs £100-150 daily to hire. These machines require experience to operate without damaging healthy grass.
Scarifying benefits include:
- Complete thatch removal
- Improved soil aeration
- Enhanced water penetration
- Reduced moss and weed competition
Scarifying suits severely thatched lawns with buildup exceeding 20mm thickness. The process creates temporary lawn damage but produces long-term health improvements.
Recovery time after scarifying ranges from 2-6 weeks depending on grass type and growing conditions.
Step-by-Step Guide: How to Dethatch Your Lawn
Proper lawn dethatching requires careful preparation, systematic execution, and thorough clean-up. Success depends on timing the process correctly, using the right technique, and following up with proper aftercare.
Preparing the Lawn for Dethatching
The first step involves checking if dethatching is actually needed. A homeowner should use a spade to remove small sections of turf and examine the thatch layer beneath. If this brown, spongy layer measures more than 0.5 inches thick, dethatching becomes necessary.
Timing is critical for successful lawn dethatching. Spring or autumn provides the best conditions when soil moisture levels are adequate. Cool-season grasses respond best to spring dethatching, whilst warm-season varieties should be dethatched in late spring.
Two days before beginning the dethatching process, water the lawn lightly. The soil should be moist but not waterlogged. Attempting to dethatch overly wet or bone-dry soil will damage both grass roots and soil structure.
Mow the grass to approximately one inch in height before starting. This shorter length allows the dethatching equipment to reach the thatch layer more effectively. Remove any debris, leaves, or obstacles from the lawn area.
Select the appropriate equipment based on lawn size and thatch thickness. Power rakes work well for moderate thatch buildup, whilst core aerators suit lawns with severe thatch problems. Many hire centres can adjust equipment settings for specific grass types.
Executing the Dethatching Process
Begin by setting the dethatching machine to the proper depth. The blades should penetrate just deep enough to break up the thatch layer without damaging healthy grass roots. Most machines require a depth of approximately 0.25 inches above a hard surface.
Run the dethatcher in two perpendicular directions across the entire lawn. Make the first pass running north to south, then complete a second pass going east to west. This cross-pattern approach breaks up thatch more thoroughly than single-direction passes.
Maintain a steady, moderate pace whilst operating the equipment. Moving too quickly reduces effectiveness, whilst going too slowly can damage healthy grass. The machine should pull up brown, dead material whilst leaving green grass largely intact.
For smaller lawns with minimal thatch buildup, manual dethatching with a sturdy rake remains an option. Use short, firm strokes to pull up the thatch layer. This method requires considerably more time and physical effort than machine dethatching.
Stop periodically to check progress and adjust technique if needed. The goal is removing excess thatch whilst preserving as much healthy grass as possible.
Clean-up After Dethatching
Immediately after completing the dethatching process, rake up all debris from the lawn surface. The removed thatch material appears brown and fibrous, distinctly different from healthy grass clippings. Use a leaf rake and wheelbarrow to collect this material efficiently.
Dispose of thatch debris properly by adding it to compost piles or municipal green waste collection. Avoid composting any thatch that has been treated with herbicides or pesticides, as these chemicals can persist and damage other plants.
Water the lawn thoroughly immediately after clean-up. The dethatching process stresses grass plants, and adequate moisture helps them recover more quickly. Apply water slowly to allow proper soil penetration.
Apply fertiliser within a week of dethatching to support grass recovery. Choose a balanced fertiliser appropriate for the grass type and season. The newly opened soil structure allows nutrients to reach grass roots more effectively.
Monitor the lawn’s recovery over the following weeks. Some browning and sparse appearance is normal immediately after dethatching. Most lawns show significant improvement within 2-4 weeks with proper watering and care.