Most lawn problems are solved by guessing. The grass looks pale, you add nitrogen. The moss comes back, you spread iron. The grass thins, you overseed. Half the time the guesses work because lawns are forgiving. The other half they fail because the soil underneath is not what you assumed it was, and you are treating a symptom instead of a cause. A soil test costs around £12 to £25 (about $15 to $30) and tells you exactly what your lawn is missing, what it has too much of, and what would be a waste of money to apply.
The problem most people hit when the report arrives is that it is written in agronomy shorthand. Numbers, ratios, ppm, indices, recommended ranges per crop type. Without a translation key it reads like a chemistry exam paper. The good news is that once you understand five fields on the report, everything else falls into place, and the test pays for itself many times over by stopping you spending money on fertilisers your lawn does not need.
Which Test to Buy and How to Take the Sample
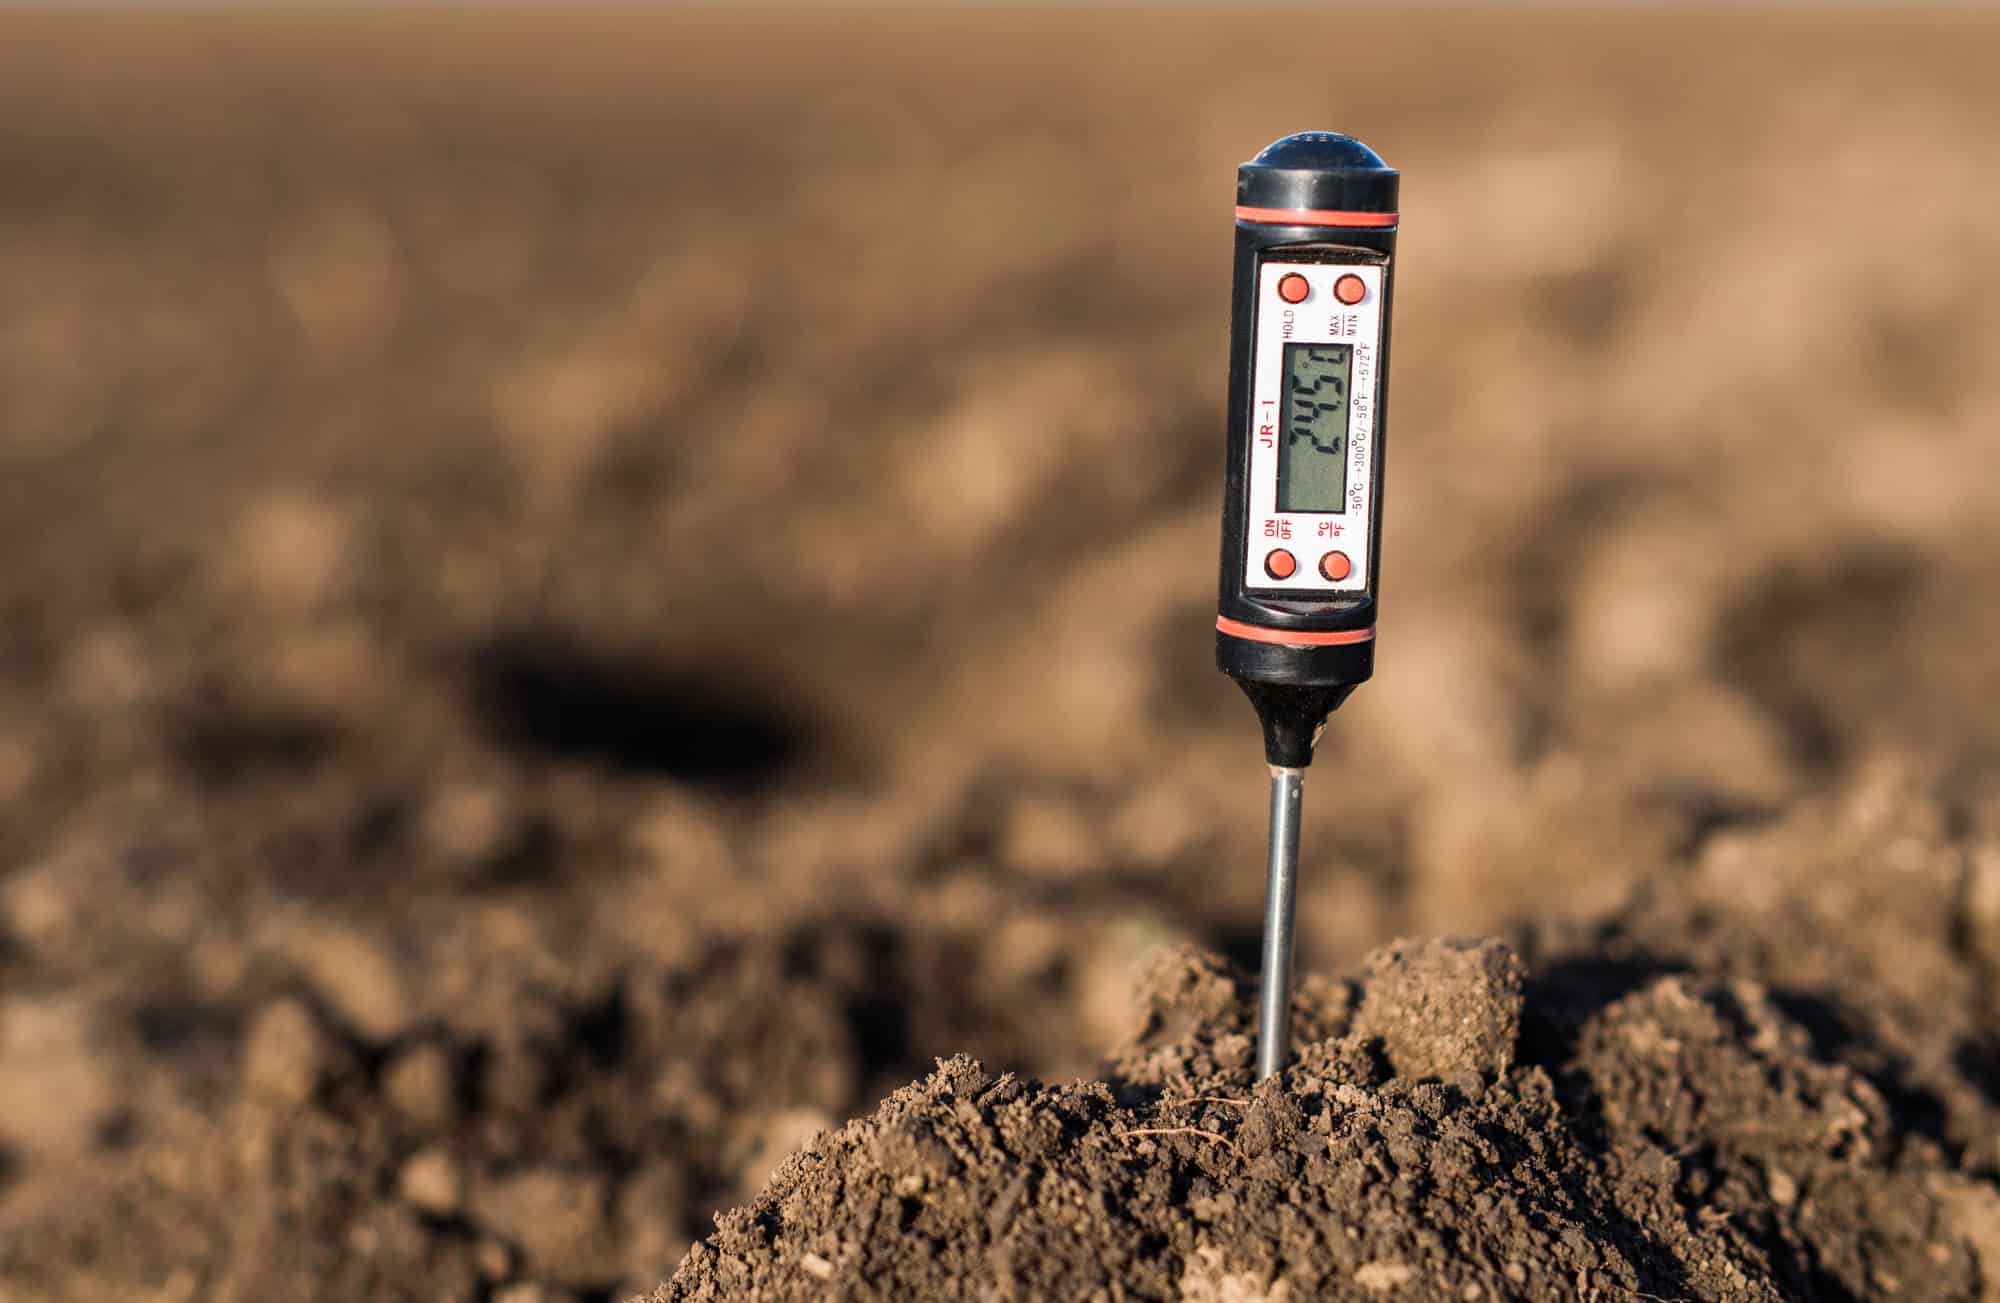
Home test kits sold in garden centres for under £10 ($12) are useful for a directional pH reading and not much else. They use coloured chemical indicators in a test tube and can be 0.3 to 0.5 of a pH unit out, which is enough error to make a wrong call on lime. A digital probe meter at around £15 to £25 (about $20 to $30) is better for pH but unreliable for nutrients. For a complete soil test that tells you nutrient levels, organic matter content, and pH with laboratory accuracy, send a sample to a proper soil lab. RHS members can order a test for around £35 ($45). Lancrop, Hutchinsons, and most university extension services in warmer regions offer similar services at similar prices.
The sample is as important as the test itself. Take 10 to 15 small plugs from across the lawn using a clean trowel, going down to 10cm (4 inches) deep. Drop them in a clean bucket, mix them thoroughly, then take a 200g (7 ounce) handful from the mix and let it air-dry for 24 hours before posting. Sampling only one spot, or sampling immediately after fertilising, makes the report useless. Most labs send results back within seven to ten working days.
The Five Numbers That Actually Tell You Something
The first number to read is pH. The scale runs from 0 to 14, with 7 being neutral, below 7 acidic, and above 7 alkaline. Most grasses grow best in soil between 6.0 and 7.0, which is mildly acidic to neutral. Fescues tolerate down to 5.5; ryegrass prefers 6.0 to 6.5; warm-season grasses like bermuda do well at 6.0 to 7.0. Above 7.5 the soil starts to lock up iron and manganese, leading to chronic yellowing that no amount of fertiliser will fix. Below 5.5 the soil locks up phosphorus and calcium, and moss starts to outcompete grass.
The second number is phosphorus, abbreviated as P, often reported in parts per million (ppm) or as an index. A reading of 20 to 40 ppm sits in the healthy range for a lawn. Below 10 ppm is deficient. Above 60 ppm is excessive and may need no further phosphorus for three to five years. Lawns rarely run short of phosphorus once established, because the nutrient binds tightly to soil particles and stays put. Spring lawn feeds heavy in phosphorus are often unnecessary and can pollute groundwater if applied repeatedly without need.
The third number is potassium, abbreviated as K. Healthy range sits around 125 to 250 ppm. Below 75 ppm and the grass becomes prone to leaf-tip browning, drought damage, and winter kill. Potassium is the nutrient that builds cell wall strength and helps grass survive stress, which is why autumn feeds are typically high in K. If your test shows potassium below 100 ppm, this is the single most cost-effective fix you can make. Sulphate of potash, applied at 25 to 50g per square metre (around 5 to 10 pounds per 1,000 square feet), corrects most deficiencies within one growing season.
The fourth number is organic matter, sometimes shown as percent organic matter or as a separate line for cation exchange capacity. Healthy lawn soil sits between 3 and 6 percent organic matter. Below 2 percent the soil cannot hold nutrients or water effectively, and every fertiliser application leaches away within weeks. Above 8 percent there is usually a thatch problem at the surface that needs scarifying. The fix for low organic matter is autumn topdressing with a 50/50 sand and compost mix at 2 to 3kg per square metre (about 4 to 6 pounds per square yard), repeated for three or four seasons until the figure climbs.
The fifth number is the one most homeowners miss: the soil texture or type, often shown as clay loam, sandy loam, silt, or similar. Sandy soils drain fast, lose nutrients quickly, and need more frequent lighter feeds. Clay soils hold nutrients but compact easily and waterlog. Loam is the textbook ideal. Your soil texture determines how often you should feed, how deep to water, and whether you should aerate annually or every other year. A clay soil under a heavily used lawn needs hollow-tine aeration every year. A sandy soil over a quiet lawn can go three years between aerations.
Nitrogen Is the Number That Is Not There
Almost no soil test reports nitrogen, and that catches people off guard. The reason is biological. Soil nitrogen exists mainly as nitrate and ammonium, both of which are mobile, transient, and constantly being created and consumed by microbes. A reading taken on Tuesday could be wildly different by Friday. Instead, labs estimate likely nitrogen availability from the organic matter percentage and the soil texture, then recommend a feeding rate based on the grass species and climate.
For most cool-season lawns the rule of thumb is to apply 100 to 150g of actual nitrogen per square metre per year (roughly 2 to 3 pounds per 1,000 square feet), split into three or four feeds across the season. Warm-season grasses need more, often 200 to 300g per square metre per year. A 14-2-5 lawn feed at the standard 35g per square metre application rate delivers around 5g of actual nitrogen per square metre per dose, so three applications per season hit the lower end of the cool-season target. If your soil organic matter reading is high, drop one feed. If it is low, you may need a fourth.
Translating the Report Into Action
Once you have the five numbers, the recommended fixes follow a clear logic. If pH is below 5.5, apply garden lime at 50g per square metre (about 10 pounds per 1,000 square feet) in autumn. Dolomitic lime, which contains magnesium as well as calcium, is the better choice on light sandy soils where magnesium is often also low. Expect the pH to take three to six months to shift, and retest a year later.
If pH is above 7.5, elemental sulphur at 25 to 50g per square metre (5 to 10 pounds per 1,000 square feet) will lower it, but slowly. Soil bacteria oxidise the sulphur into sulphuric acid, and the process needs warmth and moisture to work. Wait six months before retesting.
If phosphorus is low, choose a feed with a higher middle number such as 9-7-7 or 12-4-8 for one or two applications. If phosphorus is already high, switch to a low-P feed such as 14-2-5 (the formulation used in most Miracle-Gro EverGreen products) and skip phosphorus entirely.
If potassium is low, either pick a feed with a higher third number or add sulphate of potash separately at 25g per square metre after a regular feed. Westland Lawn Feed Plus Potash and similar autumn-formulated products carry K levels around 5 to 8, useful for correcting moderate deficiencies.
If organic matter is below 3 percent, start an autumn topdressing routine. If it is above 8 percent, plan a thorough scarification in early autumn and reduce nitrogen by one feed for the next two seasons.
The biggest behaviour change after the first soil test is usually a reduction in spending. Most people who test discover they have been over-feeding phosphorus, occasionally over-feeding nitrogen, and ignoring potassium and pH entirely. Switching to the right product at the right rate often costs less than the previous routine and produces a visibly better lawn within one season. The test pays for itself within the first feed.