Test the soil before you buy another bag of lawn feed. A lawn sitting at pH 5.0 can be fed four times a year and still look starved, as the nutrients you paid for stay chemically locked in the ground where roots cannot reach them. A capsule test kit such as the Luster Leaf Rapitest 1601 sells for $18.97 at Home Depot and around £30 from specialist turf suppliers, while a laboratory test costs less than one bag of fertiliser. The number those tests hand you decides whether feeding, liming or leaving well alone is the right move this year, and it is the one measurement most people skip.
What pH does to the food already in your soil
Soil pH is not a nutrient. It is a gatekeeper. It measures hydrogen ion activity on a logarithmic scale, so soil at pH 5.5 is ten times as acidic as soil at 6.5, and that shift changes which chemical form every nutrient takes. Phosphorus is the clearest example. Below about pH 5.5, phosphate ions bind with iron and aluminium to form compounds so insoluble that grass roots cannot extract them. Push above pH 7.5 and the same phosphate binds with calcium instead, forming calcium phosphates that are equally out of reach. Your soil test can report plenty of phosphorus in both cases. The grass still cannot get at it.
The mirror problem appears in alkaline ground. Iron and manganese precipitate out of solution as the pH climbs, and a lawn short of iron goes pale and yellow between the leaf veins. Most people read that yellowing as a nitrogen shortage and reach for a high-nitrogen feed. The grass responds with a flush of soft growth, more mowing and more thatch, and the colour never really fixes, as the plant was never short of nitrogen. It was short of iron it could absorb. Chasing colour with nitrogen on alkaline soil is one of the most expensive mistakes in lawn care.
The Royal Horticultural Society puts the sweet spot plainly: at pH 6.1 to 7.0 the availability of major nutrients is at its highest, and bacterial and earthworm activity is at its best. Phosphates start locking up below pH 5.1, and below pH 4.7 bacteria stop rotting organic matter, which is why very acidic lawns build a spongy thatch layer that no amount of scarifying keeps on top of. For turf, aim for 6.0 to 7.0, with 6.5 as the target for most cool-season grasses. Grass species differ in how much they tolerate. Fine and tall fescues cope down to around 5.5 without much complaint. Perennial ryegrass sulks below 6.0, thins out and hands ground over to moss and weeds that are happier there.
The sample is where home tests go wrong
Almost every useless home soil test is useless before the chemistry starts. Someone digs one hole by the back door, drops the soil in a jar and reads a number that describes one square inch of a lawn. Soil pH varies across a single garden by a full unit, and the number you act on has to represent the whole area.
Penn State Extension asks lawn owners to collect soil from 8 to 10 random locations, 10cm (4 inches) deep. That is the method to copy. Walk the lawn in a rough zigzag and take a core at each stop with a trowel or a soil probe, cutting a thin slice of consistent thickness rather than a wedge. Slice off and throw away the top 1cm (about half an inch) of every core, which is thatch and living grass rather than soil, and would drag the reading around. Combine the cores in a clean plastic bucket, break up the crumbs and mix them until the colour is uniform. That mixture is your composite sample, and the small amount you test comes out of it.
Never mix soil in a galvanised bucket or a brass container. Galvanised steel is zinc-coated, brass is a copper alloy, and both shed traces of metal into damp, acidic soil. Zinc and copper are the exact micronutrients a laboratory panel reports on, so you can contaminate your own sample into a false reading and end up correcting a deficiency you never had. A plastic bucket, a clean plastic tub or an old washing-up bowl costs nothing and removes the problem. The same care applies to the water in a home kit: use distilled or deionised water, never tap water, which is often alkaline and buffered and can nudge the result by a third of a pH unit on its own.
Let the mixed sample air dry overnight on a sheet of newspaper or a paper plate. Do not dry it in the oven or on a radiator, as heat alters the chemistry. Take separate composites for areas that clearly differ, such as a shaded strip under trees and an open front lawn, and stay away from the metre nearest a path, wall or old mortar rubble, where leached lime lifts the local pH. The RHS also warns that a test taken within three months of adding lime, fertiliser or organic matter can mislead, so leave the lawn alone before you sample it.
Three Testing Methods, Ranked by What They Actually Tell You
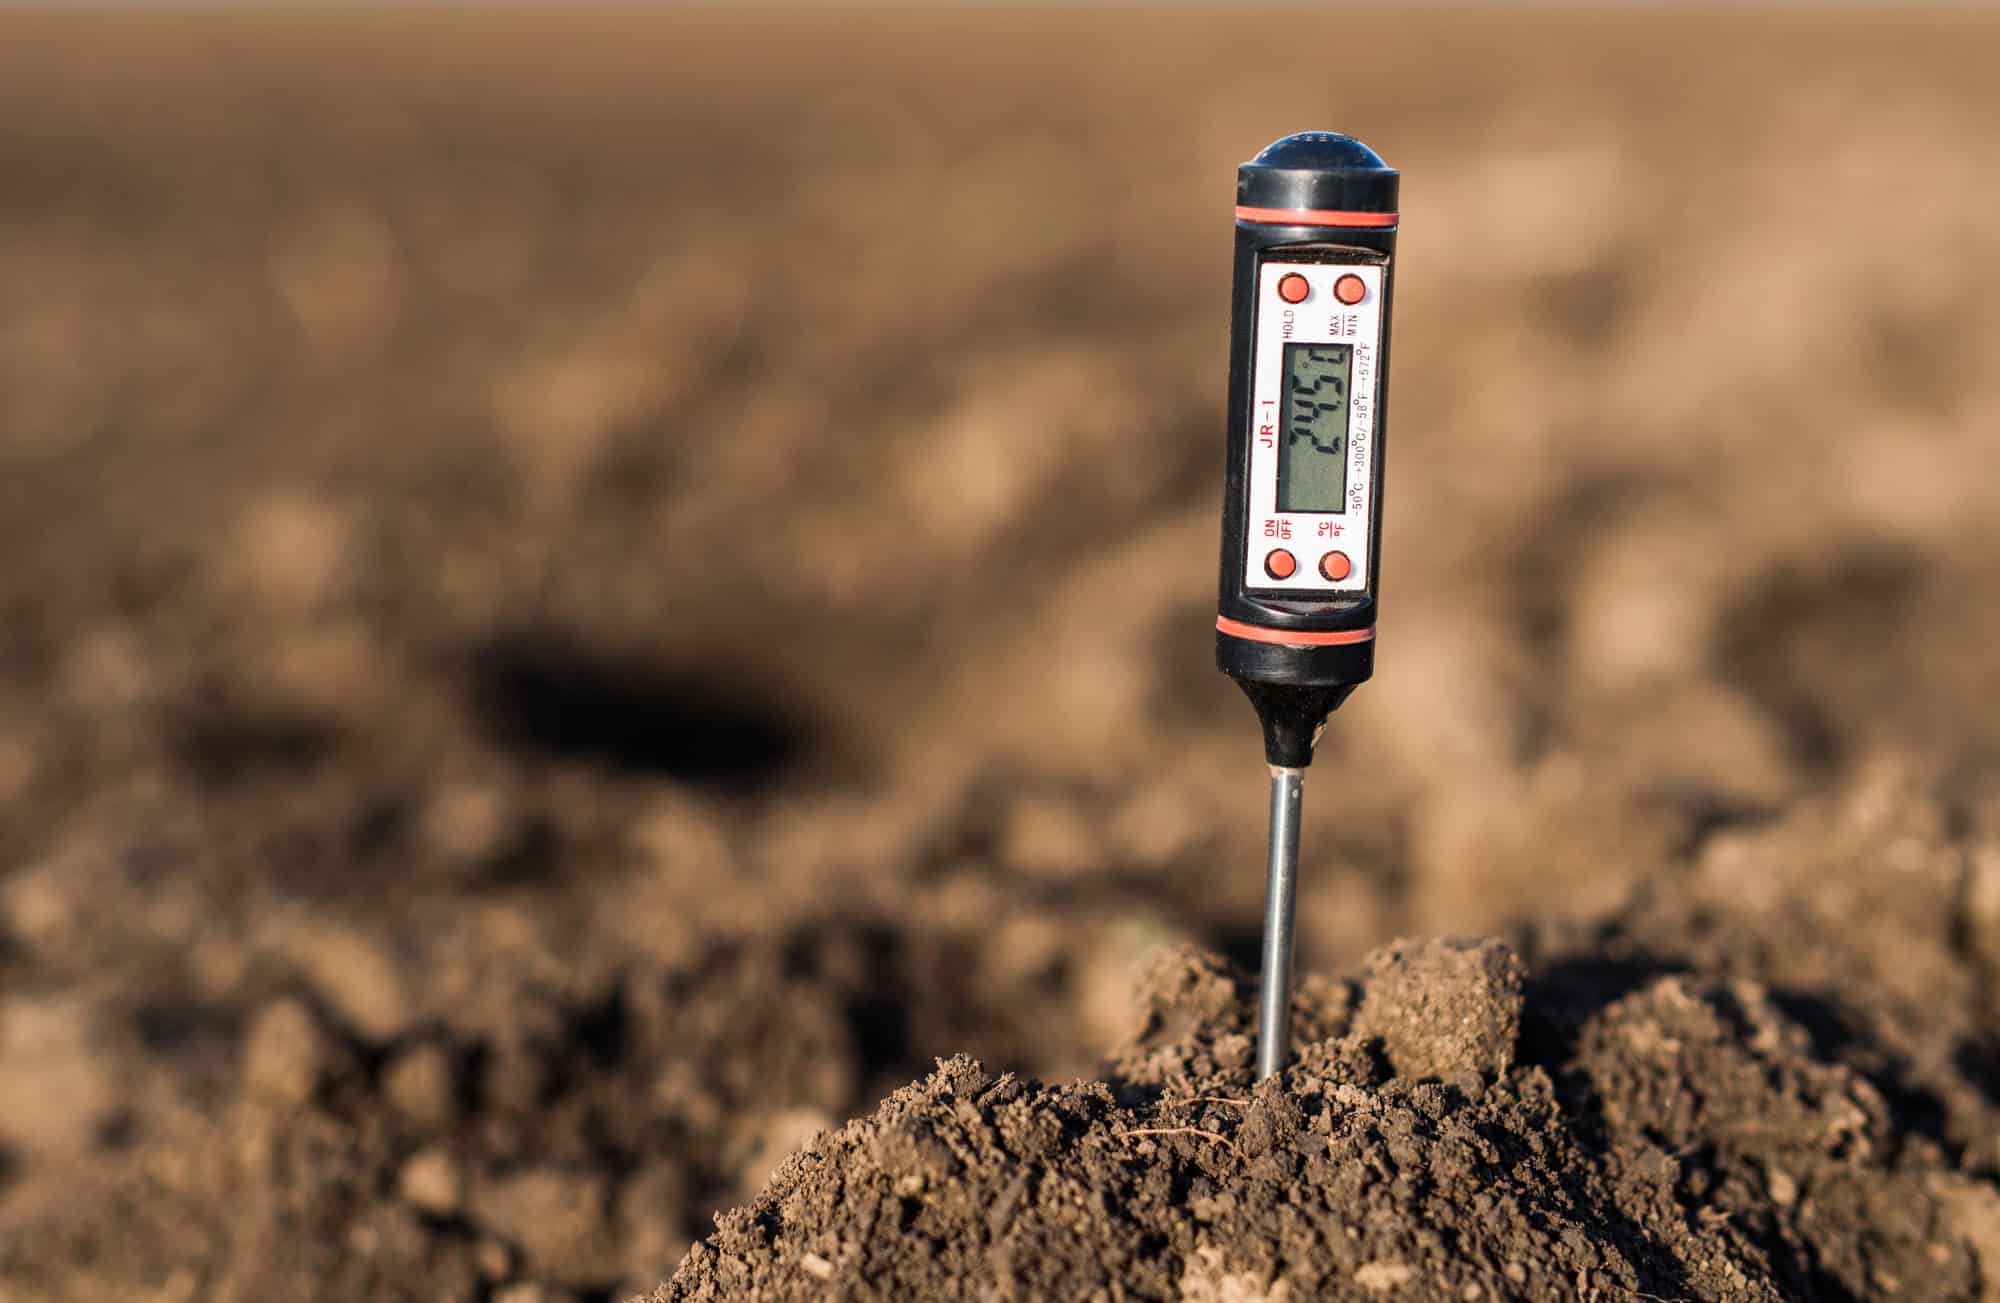
- Two-prong probe meters. The cheap metal-pronged dials sold in every garden centre and on Amazon do not measure pH in any meaningful sense. Two dissimilar metals in moist soil generate a tiny current, and the needle reports that current, which tracks moisture and dissolved salt content far more closely than hydrogen ion activity. They cannot be calibrated, they read close to neutral in almost any damp soil and they read acidic in almost any dry one. Water the ground and the same probe gives you a different answer. Treat the reading as decoration.
- Chemical colour capsule kits. This is the honest budget option. The Luster Leaf Rapitest 1601 costs $18.97 at Home Depot and about £30 through turf specialists, and gives 40 tests, 10 of them for pH. You shake soil with distilled water, add the indicator powder, let it settle and match the colour against a card. Followed properly, a kit like this lands within roughly half a pH unit of the truth, which is enough to tell 5.2 from 6.5 and enough to act on. Run the test three times from the same composite and take the middle result, as colour matching by eye is subjective, and read it in daylight rather than under a kitchen bulb.
- A laboratory soil test. The only method that returns real numbers. Clemson’s Agricultural Service Laboratory charges $6 for a standard soil test, which reports pH, buffer pH lime requirement, and extractable phosphorus, potassium, magnesium, calcium, zinc, manganese and copper, with results in 3 to 10 business days; their postage-paid mailer kit is $25 and includes one test. Penn State Extension sells its mail-in kit for $10. The RHS soil analysis service costs £36 per sample for members and £43 for non-members, covering texture, pH, organic matter and three major nutrients, with fertiliser recommendations for lawns and a report back within about 28 days.
The buffer pH figure is what a laboratory gives you that nothing else can. Soil pH tells you the acidity in solution right now. Buffer pH measures the reserve acidity held on clay and organic matter, which is what pushes the soil back down after you lime it. Two lawns can both read 5.5 and need wildly different amounts of lime: a sandy soil holds little reserve acidity and moves quickly, while a heavy clay or peaty soil resists and needs far more material to shift the same distance. Without that figure you are guessing at the dose, and the guess is usually wrong in one direction or the other.
That leaves the kitchen-cupboard test. Splitting a soil sample into two saucers, pouring vinegar on one and bicarbonate of soda solution on the other, and watching for fizz, is the trick every second gardening article repeats. Fizzing with vinegar means free calcium carbonate is present, which does confirm chalky, alkaline ground above roughly pH 7.5, and the RHS notes this as a quick check for free lime that DIY kits miss. The bicarbonate half of the test is close to meaningless. Neither reaction can separate a lawn at 5.2 from a lawn at 6.4, and that gap is the whole decision. The vinegar test detects extremes. Nothing else.
Raising pH with lime, lowering it with sulphur
Ground limestone is the RHS-recommended liming material for gardeners: easy to spread and widely stocked. Calcitic lime is calcium carbonate. Dolomitic lime is a calcium magnesium carbonate, worth choosing where a laboratory report shows magnesium running low, and worth avoiding where magnesium is already high, as excess magnesium works against soil structure on clay. Both neutralise acidity through the carbonate ion, and both work at a speed set almost entirely by particle fineness. Only the fine fraction that would pass a flour sieve dissolves and reacts in the first season. Coarse grit sits in the soil doing nothing for years. Granular products solve the dust problem by binding finely ground limestone into pellets that collapse when watered, which is why they act faster than a bag of gritty agricultural lime.
A 20kg tub of granular garden lime runs to £25.95 at The Range, and B&Q, Wickes and most garden centres carry smaller 3kg to 10kg tubs. Home Depot sells Pennington Fast Acting Lime in a 30 lb bag for $29.97, and Lowe’s stocks the same line. On a loam, about 50g per square metre (roughly 1.5oz per square yard, or 10 lb per 1,000 square feet) lifts the pH by around half a unit. Sandy soil moves further on the same dose; clay and peat move less. Never apply more than 250g per square metre (about 7.5oz per square yard) in a single application, as a heavy surface dose spikes the pH in the top centimetre while the root zone stays acidic, and it can scorch the grass outright. Split anything larger and leave six months between doses.
Apply lime in autumn or winter, when rain and frost work it in and the grass is not growing hard. Skip frozen or waterlogged ground, water it in if the weather stays dry, and keep children, pets and mowers off the newly limed grass until it has washed off the leaf. Do not follow lime with an ammonium-based feed inside a few weeks, as the two react and lose nitrogen to the air as ammonia. Then wait. Liming is not an overnight fix. Carbonate has to dissolve in soil water and trade places with the acidity held on clay surfaces, and full effect takes 6 to 12 months. Retest at the end of that window rather than re-liming in frustration in the spring.
Going the other way is harder. Elemental sulphur is the standard tool: soil bacteria oxidise it into sulphuric acid, which means it only works in warm, moist, well-aerated soil and does nothing in cold ground. Apply no more than 50g per square metre (about 1.5oz per square yard) at a time, water it in, and leave 6 to 8 weeks before retesting and repeating. Ammonium sulphate acidifies more gently while feeding the lawn, which suits turf that needs a nudge of a few tenths rather than a full unit. Avoid aluminium sulphate. It drops the pH fast, and it does so by loading the soil with soluble aluminium, the very ion that poisons grass roots and locks up phosphorus in acidic ground. It is a hydrangea trick, not a lawn treatment. Where the soil contains free chalk or limestone, acidifying it is a losing battle and the RHS says as much.
What ignoring the number costs you
Feeding an acidic lawn is pouring money onto ground that will not release it. Phosphorus and potassium sit locked, nitrogen leaches through fast-draining acid soil, and the annual fertiliser bill buys thin, patchy turf. The gaps do not stay empty. Moss thrives in acidic, damp, compacted conditions where grass struggles, sorrel and plantain move in, and the thatch layer thickens as the bacteria that would decompose it shut down below pH 4.7. You end up buying moss killer, scarifying twice a year and reseeding bare patches, all to treat symptoms of a number you could have measured for the price of a takeaway coffee.
Over-liming causes the opposite failure and is harder to undo. Push a lawn past 7.5 and you create the iron and manganese chlorosis that sends people back to the nitrogen bag, and pulling the pH back down takes years of sulphur applications. Test, act on the number, and retest every two to three years. Spend $6 to £43 once, and the fertiliser you buy afterwards actually reaches the grass.