Lawn compaction is the invisible reason a lot of May lawns look tired despite regular feeding and watering. The damage happened slowly through autumn and winter, the lawn coped with it through the cool spring, and then the first warm dry week of May exposes everything that the wet ground was hiding. The fix takes a Saturday morning and the tools you probably already own.
The frustrating thing about compaction is that it does not look like a problem at first. The lawn is green, the grass is upright, the soil seems firm rather than damaged. The signs are subtle until they suddenly are not. By the time the lawn is browning in dry patches that follow exactly where you walked all winter, the underlying soil has been failing for months. May is the month to catch and correct it, because the ground is workable, the grass is still growing fast enough to recover, and there are still 4 to 6 weeks of useful growth before summer heat closes the window.
How Compaction Builds Up Without You Noticing
Healthy lawn soil is about 50 percent solid particles (sand, silt, clay and organic matter) and 50 percent pore space (split roughly equally between water-filled and air-filled pores). Grass roots live in the pore network, drawing oxygen from the air-filled pores and water from the water-filled ones. Soil microbes, which release nitrogen and other nutrients from organic matter, need the same pore network. Anything that crushes those pores reduces both the water-holding capacity and the oxygen supply at the same time.
The pressure that causes most domestic compaction is footfall on wet ground. A typical adult standing on saturated soil delivers roughly 14 kilopascals of pressure under each foot, which is enough to collapse macropores in clay or loam soil. Mowing with the wheels of a 25kg petrol mower on damp ground concentrates that pressure further. A trampoline, paddling pool or play equipment left on the lawn over winter applies steady pressure for months. Dogs running the same patrol line along a fence create a compacted strip that may never reseed. Even a wheelbarrow taking the same route to a compost heap creates a permanent track.
The damage is cumulative. Each individual pressure event squeezes the pore network slightly. The soil never fully recovers between events, especially in winter when freeze-thaw cycles cannot loosen the structure on a lawn that gets walked on every day. By spring, the top 5 to 10cm of soil has lost 30 to 50 percent of its pore space, and the grass roots cannot reach the moisture or nutrients held below that compacted layer.
The Five Signs Compaction Is Behind Your Lawn Problems
The screwdriver test is the quickest diagnostic. Push a long screwdriver (a #2 Phillips with a 15cm shaft works) straight down into the lawn using firm hand pressure. In healthy soil the screwdriver should slide in to at least 10cm (4 inches) without much resistance. If you cannot push past 5cm, the soil is significantly compacted. Try the test in 5 to 6 spots across the lawn, because compaction is rarely uniform.
The footprint test is even simpler. Walk across the damp lawn in normal shoes and look back after an hour. Footprints that have already faded mean the soil is healthy and elastic. Footprints that are still visible an hour later, especially if the grass blades are still bent flat, mean the soil cannot rebound and is compacted.
Water behaviour gives a third clue. Water a stalled patch with a watering can. On healthy soil the water disappears in under 30 seconds, on moderately compacted soil it takes 1 to 3 minutes to soak in, on severely compacted soil it puddles and runs sideways. The reason this is significant is that grass watered onto a compacted lawn never reaches the roots, it sits on the surface and evaporates.
Look for worm casts. Earthworms cannot survive in heavily compacted soil because they need oxygen and a porous matrix to move through. A lawn that used to have visible worm casts in spring and now has none has lost its earthworm population, and that loss is one of the strongest indirect signs of compaction.
The fifth sign is moss. Compacted soil drains poorly, stays cold longer in spring, and supports anaerobic bacteria that grass roots cannot compete with. Moss exploits exactly these conditions, which is why a sudden moss problem in a lawn that did not have moss two years ago is more often a compaction issue than a nutrient issue.
The Garden Fork Method That Actually Works
For a typical 50 to 200m2 lawn, a sturdy four-tine garden fork is the practical aeration tool. Buy a forged stainless or carbon steel fork (Spear and Jackson Traditional at around £30/$38, or Bulldog Premier at around £40/$50) rather than a pressed-steel garden centre special, because the tines bend on compacted ground and a bent fork wastes energy.
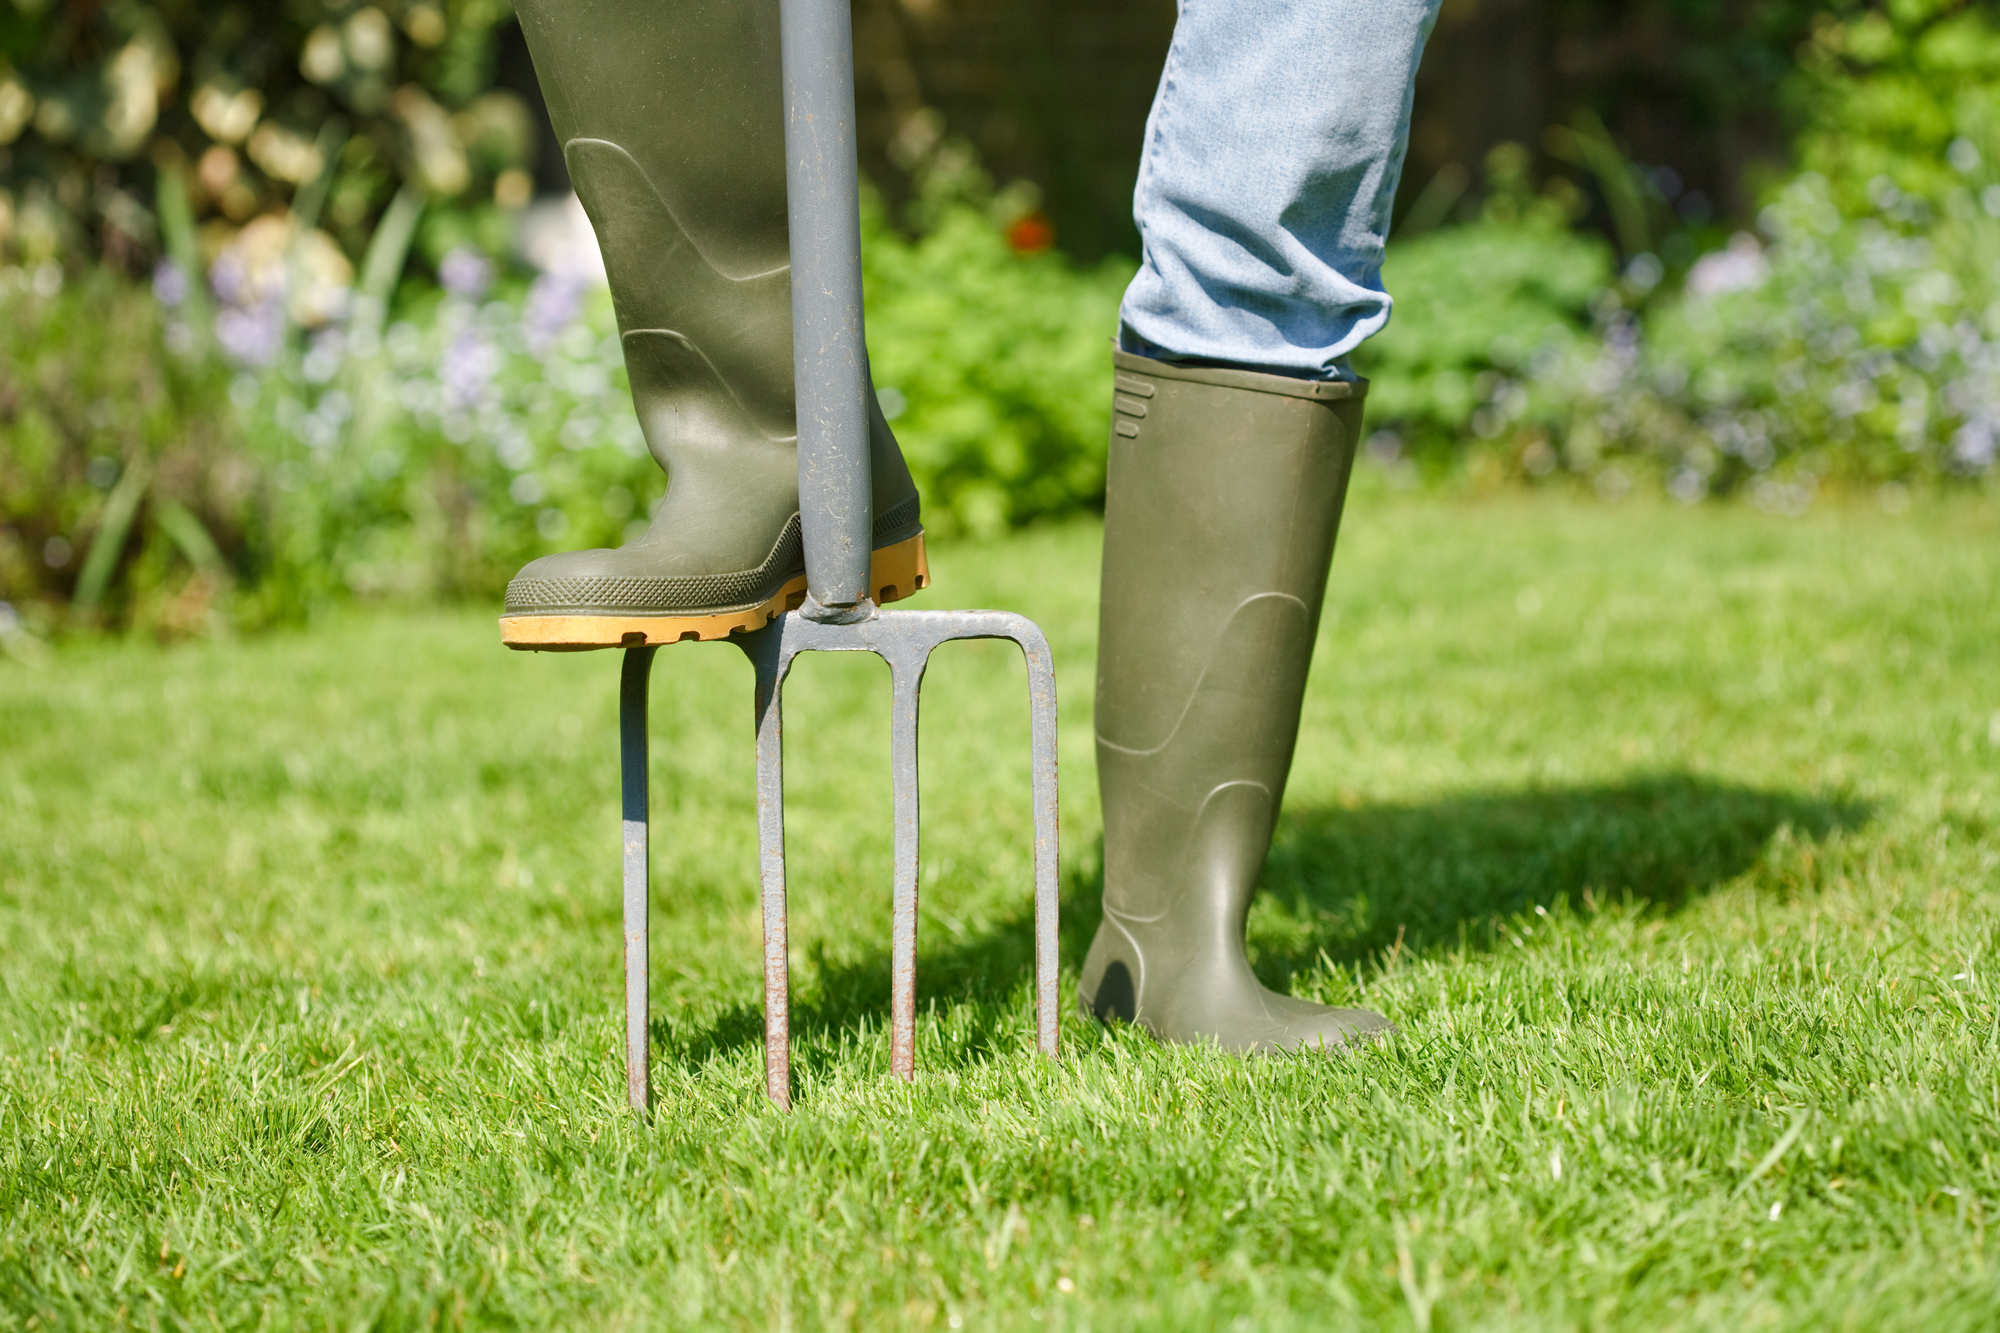
The procedure is mechanical and rhythmic. Water the lawn the day before if it is dry, because aerating into bone-dry compacted soil is back-breaking work and the tine sides glaze rather than crack the soil. Push the fork straight down to a depth of at least 10cm (4 inches), then pull the handle back by about 5cm (2 inches) to lever the soil sideways and crack the compacted layer. Withdraw the fork, step backward 10cm and repeat. Work in rows across the lawn, leaving holes roughly 10cm apart in both directions, which gives you 100 holes per square metre.
A typical 100m2 lawn takes 90 minutes to 2 hours of steady work. Plan it as a Saturday morning job, not an evening one. The reason the side-lever motion is critical is that a straight tine push into compacted ground compresses the soil around the tine and can actually increase compaction in the immediate vicinity. The sideways lever cracks the soil rather than just pushing it.
For a slightly faster alternative on smaller lawns, a hand hollow-tine corer (around £35/$45 from Wickes or Amazon) removes plugs of soil rather than displacing them. Each push extracts a 6 to 10cm core that you can scrape off into a bucket. Hollow tines avoid the side-compaction issue completely but the work rate is slower per hole.
What to Put in the Holes After Aerating
Aerating without follow-up only delivers half the benefit. The holes close up within 2 to 4 weeks under foot traffic and the compaction returns. The standard top-dressing fix is a 50/50 mix of horticultural sharp sand and sieved topsoil, brushed into the holes with the back of a stiff broom or a rake turned upside down. Sharp sand at around £6/$8 for a 25kg bag from B&Q or Home Depot, mixed with bagged topsoil at £4/$5 for 25 litres, gives enough material for 50 to 75m2 of aerated lawn.
The sand fraction is critical. Builders sand or play pit sand is too fine and packs back to compaction within months. Horticultural sharp sand (also called grit sand) has particles 1 to 4mm across, which keeps the pore network open permanently. The reason horticultural sand works while builders sand does not is grain shape. Sharp sand particles are angular and pack with consistent void space between them. Builders sand particles are rounded and pack tightly with no voids.
On a clay lawn, increase the sand fraction to 70 percent. On a sandy lawn, increase the topsoil fraction to 70 percent and add 10 percent sieved compost for organic matter. The goal is to alter the long-term composition of the top 5cm of soil so the pore network stays open even under traffic.
When to Hire the Bigger Machine
For lawns over 200m2 or severely compacted ground, a petrol hollow-tine aerator from a hire shop is the right tool. Hire costs run £45 to £90/$60 to $120 for a day, or £150 to £200/$190 to $250 for the weekend. Larger lawns can be done in 60 to 90 minutes once the machine is rolling. Hygglo, National Tool Hire and most local plant-hire shops carry the machines. The Wolf-Garten UV-EV or Ferris hollow-tine aerators are typical hire-fleet machines, both pulling 5cm plugs from a depth of 7 to 10cm.
The mistake to avoid with a hired machine is doing the lawn when it is wet. The plugs come out cleanly but the tines compress the soil between the plugs on every pass. Wait until the ground is moist but firm enough to walk on without leaving deep footprints, which is the same condition that suits hand aeration.
The Mistake Most Gardeners Make in May
The standard mistake is to spike the lawn with a solid roller-spike aerator, the kind with a 30cm drum and 8cm tines that you push like a roller. These devices look efficient and cost £30/$38 from any DIY chain, but the engineering is wrong for actual compaction relief. The tines are spaced too far apart (typically 8 to 10cm) to relieve pressure between the holes, and a solid tine pushed into compacted soil drives compaction sideways exactly where the holes are not.
If you already own a roller-spike aerator, use it for routine annual maintenance on a healthy lawn but not for fixing real compaction. The garden fork method is slower and more tiring, but the lever motion does what the roller cannot, which is crack the compacted layer rather than just decorate the surface with holes.
The second common mistake is timing. Aerating in summer drought stresses an already stressed lawn and the holes never close because the soil is too dry for the surrounding turf to fill them. Aerating in mid-winter compresses the soil around each hole. May and September are the two correct months, with May being the better one if you want to see the benefit during the current growing season. Do the work this weekend and the lawn that has been stalling will be visibly recovering by the first week of June.