The stripes you admire on sports pitches and show gardens are not cut at different heights and they are not a different grass. They are an optical illusion created by light bouncing off grass blades bent in alternating directions. That means any mower can produce them, because the secret is not the cut, it is the bend. Add a roller, mow in opposing lanes, and read the light, and you can stripe an ordinary lawn this weekend.
The Light Trick Behind Every Striped Lawn
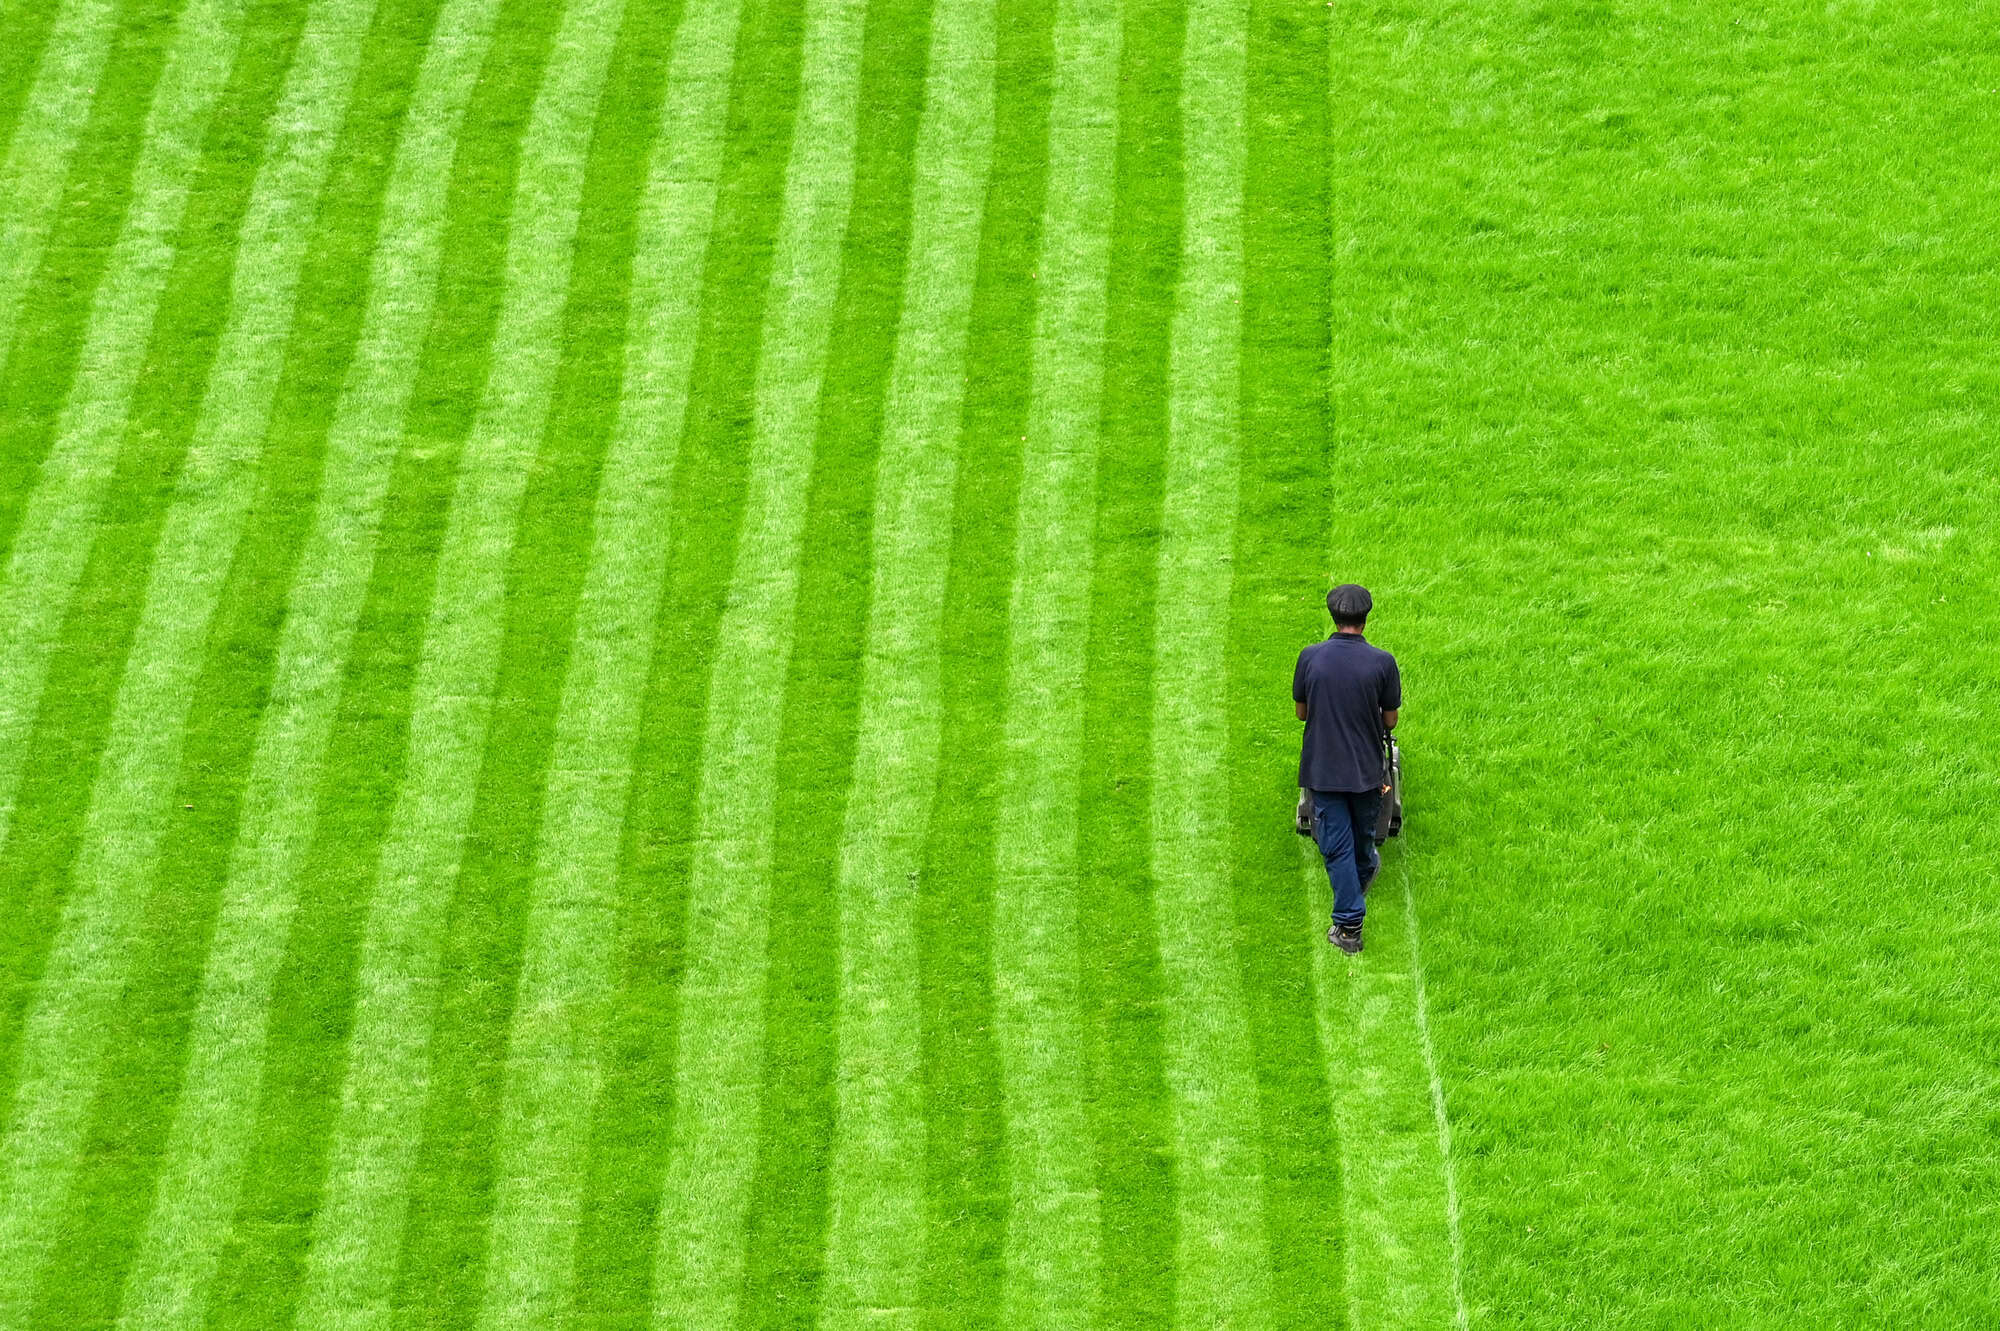
When you bend a grass blade away from you, you are looking at the broad, flat face of the blade, which reflects more light back to your eye. That band looks pale, almost silver. When the blade is bent towards you, you see the narrow tip and the shadow it casts, so that band looks dark. Mow one lane in one direction and the next lane in the opposite direction, and you create alternating pale and dark bands of the same grass at the same height. Move to the other side of the garden and the pale and dark bands swap over, which proves the effect is about your viewing angle and the light, not the grass itself.
This is why a mower with a rear roller stripes a lawn naturally: the roller presses the grass flat in the direction of travel as you go. Cylinder mowers, the type used on fine lawns and sports turf, usually have a rear roller built in. Most rotary mowers, the common four-wheeled type, do not bend the grass enough on their own, which is where a striping kit or a separate roller comes in.
The Kit You Need and the Cheap Way
You have three routes to a striping tool. The first is a factory striping kit that bolts to the back of your mower, such as the Toro Lawn Striping System for walk-behind mowers, which runs around 55 to 70 pounds / 70 to 90 dollars. It is a roller or a weighted flap that presses the grass as you pass. The second is a standalone garden roller you tow or push over the lawn after cutting, around 40 to 55 pounds / 50 to 70 dollars for a fillable drum type that you weigh down with water or sand. The third is a self-build: bolt a length of PVC drainpipe filled with sand to a frame behind the mower, or drag a flat wooden board on a rope. A home-made striper costs around 15 to 20 pounds / 20 to 25 dollars in parts and works surprisingly well.
Grass height changes how well it stripes. The blades need to be long enough to bend over and lie flat, so a cutting height of roughly 6 to 10cm (2.5 to 4 inches) gives the strongest contrast. Very short, fine ornamental lawns stripe weakly because the blades are too stiff and short to bend much. Grass type makes a difference too: ryegrass has broad blades that flatten and reflect well, so it stripes boldly, while fine fescues bend less and give a softer pattern. If a bold stripe is your goal, a ryegrass-heavy lawn cut on the higher side will always outperform a short, fescue lawn.
How to Get Stripes That Actually Show
Work in a sensible order. Mow the edges and the perimeter first so you have room to turn. Then mow the lawn in straight, parallel lanes, overlapping each pass slightly and keeping the lines as straight as you can by fixing your eye on a point at the far end. If your roller is separate, go back over each cut lane with the roller in alternating directions. At the end of each lane, lift or turn on the already-cut headland so you do not scuff the pattern. For a checkerboard, mow the whole lawn again at 90 degrees to the first set of lanes. For diagonals, run your lanes corner to corner.
Light is the finishing touch. Stripes show best when the sun is low, so mowing in the late afternoon and viewing the lawn with the sun behind you from the house or the street gives the boldest contrast. You can refresh and intensify stripes between cuts simply by running the roller over the grass again without mowing. The common mistakes are easy to avoid: cutting too short leaves nothing to bend, mowing without any roller produces no bend and therefore no stripe, and mowing in random directions cancels the pattern out. Keep the lanes parallel, keep the grass on the longer side using the heights in how high to cut your lawn in summer, and the stripes will appear.
Building or Buying a Roller, and Loading It Right
If you go the self-build route, the detail that decides success is weight and even contact. A length of 100mm (4 inch) PVC drainpipe, capped at both ends and filled with dry sand, gives a firm, consistent press across its width. Mount it on a simple bracket behind the mower deck so it trails just behind the blades and rolls the freshly cut grass flat in one pass. A loose board on a rope works on a flat lawn but tends to skip on bumps, so a rolling cylinder beats a dragged flat every time. For a fillable steel or poly garden roller, part-fill it rather than filling it to the brim: around two-thirds full with water gives enough weight to bend the grass without compacting the soil. On heavy clay, lean towards lighter loading and roll only when the surface is dry, because rolling wet clay squeezes the air out of the soil and can do real harm to root health over a season.
A striped lawn also has to be a healthy lawn to look its best, because thin or patchy grass cannot hold a clean line. Stripes show up boldest on a thick, well-fed sward where every blade bends the same way and there are no bare gaps to break the band. Keep the lawn fed in spring and early summer with a balanced feed, water it deeply in dry spells so it stays dense, and overseed thin areas in autumn. Mowing frequency helps too: cutting twice a week in the growing season keeps the grass at an even length so the bend is uniform, which is part of why sports pitches, mown almost daily by dedicated cylinder mowers with heavy rollers, hold such crisp patterns.
Once you can mow a clean set of stripes, the patterns open up. The simplest is straight up-and-down banding. Mow the lawn a second time at a right angle to the first set of lanes and you get a checkerboard, where the squares where stripes cross look darker or lighter depending on the angle. Run your lanes corner to corner for diagonals, or combine two diagonal passes for a diamond pattern. Curved and wavy stripes are possible on bigger lawns with practice, following a gentle arc on each pass. Whatever the pattern, change the direction of your stripes each week or two, because mowing the same lines repeatedly trains the grass to lean one way and can wear tracks into the turf.
If your first attempt looks faint, do not assume the technique failed. Check three things before changing anything. First, the height: grass cut below about 5cm (2 inches) has little blade left to bend, so raise the deck and try again on the next cut. Second, the weight on the roller: a roller that is too light skims over the top without pressing the blades flat, so add water or sand until you can see a clear flattened band behind it. Third, the light: a pattern that looks invisible at noon, with the sun straight overhead, can look sharp at six in the evening with the sun low and behind you. Walk out and look again as the sun drops before deciding the stripes did not take.
Striping is also kinder to the lawn than it looks, as long as you keep the grass healthy. The roller lightly firms the surface and the alternating direction each week stops any one lean from becoming permanent. The main thing to watch is soil compaction on heavy ground from rolling when wet, and scalping from chasing ever-shorter, sharper lines. Keep the cut sensible, the soil on the dry side when you roll, and the lawn fed and watered, and you can have crisp, photogenic stripes all season without trading away the health of the grass underneath them.